A Gaggia Classic coffee machine – the second I have owned – has sat in my kitchen since 2013, reliably making espresso coffee every day since. It is however one of the original pre-2009 Classics (see the different generations in this video).
However this summer it developed a peculiar fault. When the machine was warm, turning on the pump button resulted… in no coffee coming out, and a sound like the pump was struggling. When this has happened in the past it is normally the solenoid valve being blocked with limescale – this video explains how to easily fix it in normal circumstances. But that did not help this time. I even took apart the solenoid valve and cleaned it, and even bought a replacement solenoid – all to no avail.
What made me think this problem was somehow different was the heat aspect – when the machine was cold everything worked, when it was warm it did not. The only thing it could be was the switch that over time has become worn.
But while every other part of the Gaggia Classic is either still made (because other Gaggia machines use the same parts still), or generic, the switchbank is not. Gaggia machines from 2015 onwards used different switches, and I could not find a replacement switchbank for love nor money in the EU. Shades of Coffee sells an adequate replacement part, but they are in the UK and I did not want the Brexit shipping hassle. Replacing one part of the switchbank also seems somewhere between very hard and impossible.
But I did stumble across this 3D printing template that would make a mount for regular, generic switches. And my friend Jan Wildeboer who has a 3D printer printed some for me – with PETG.
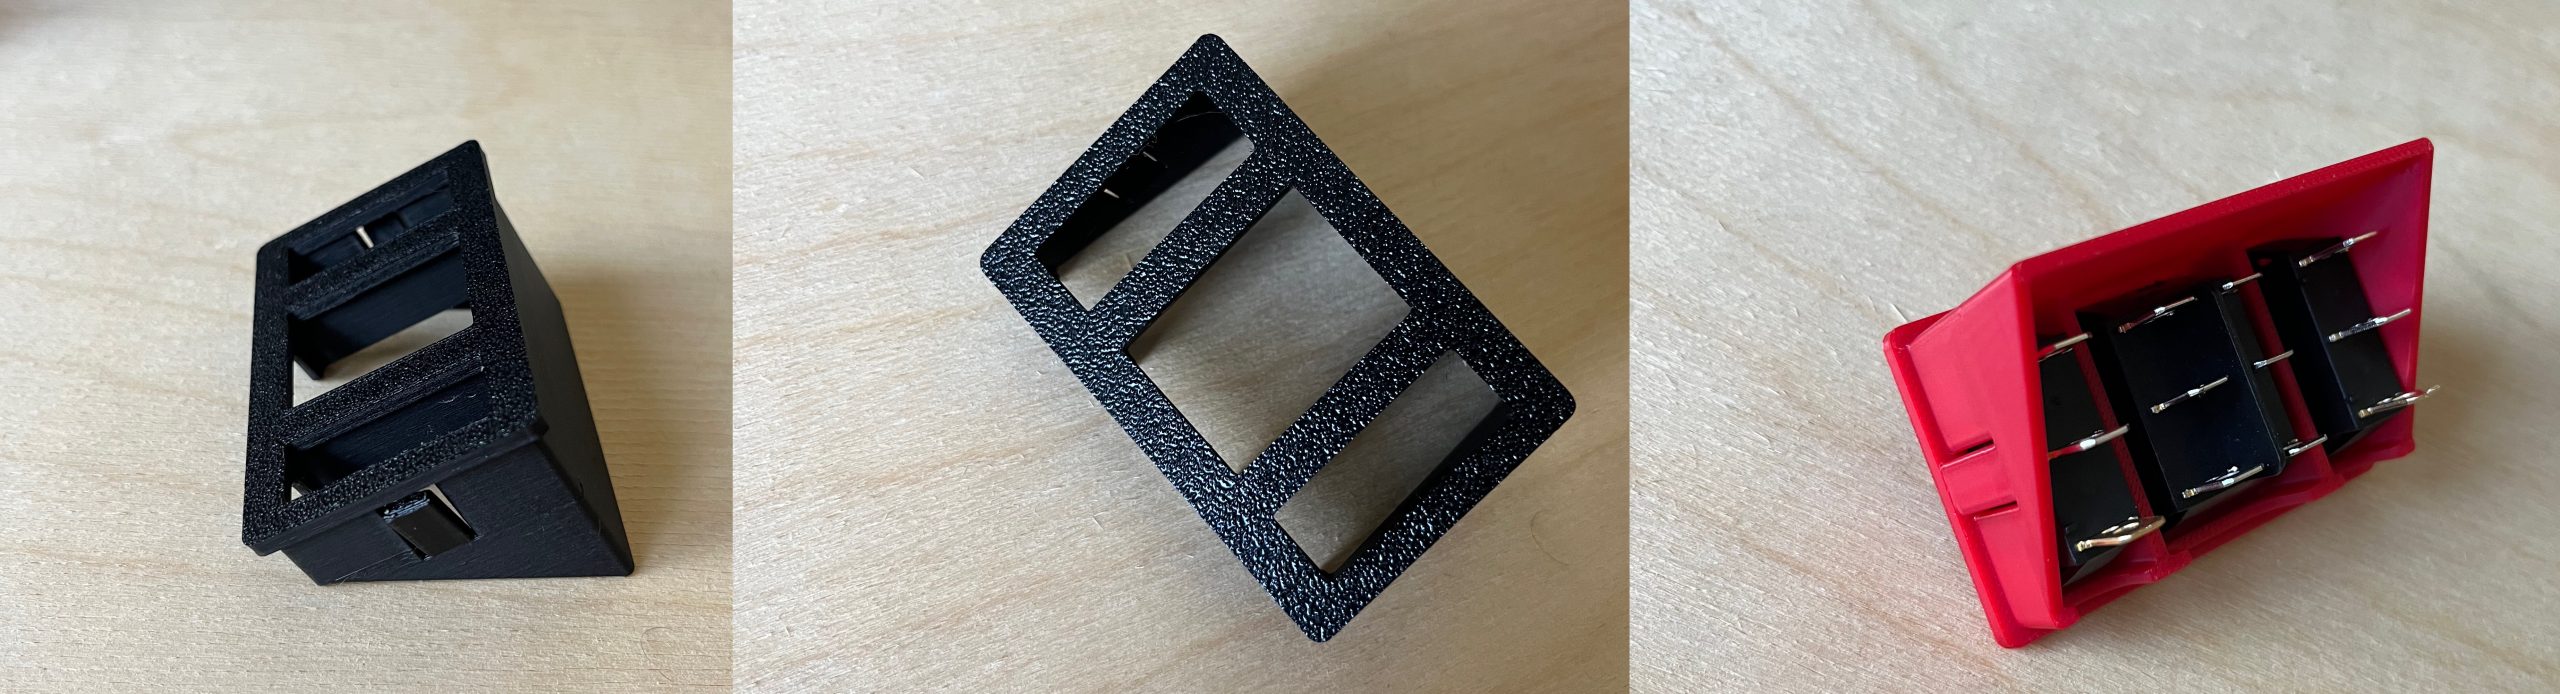
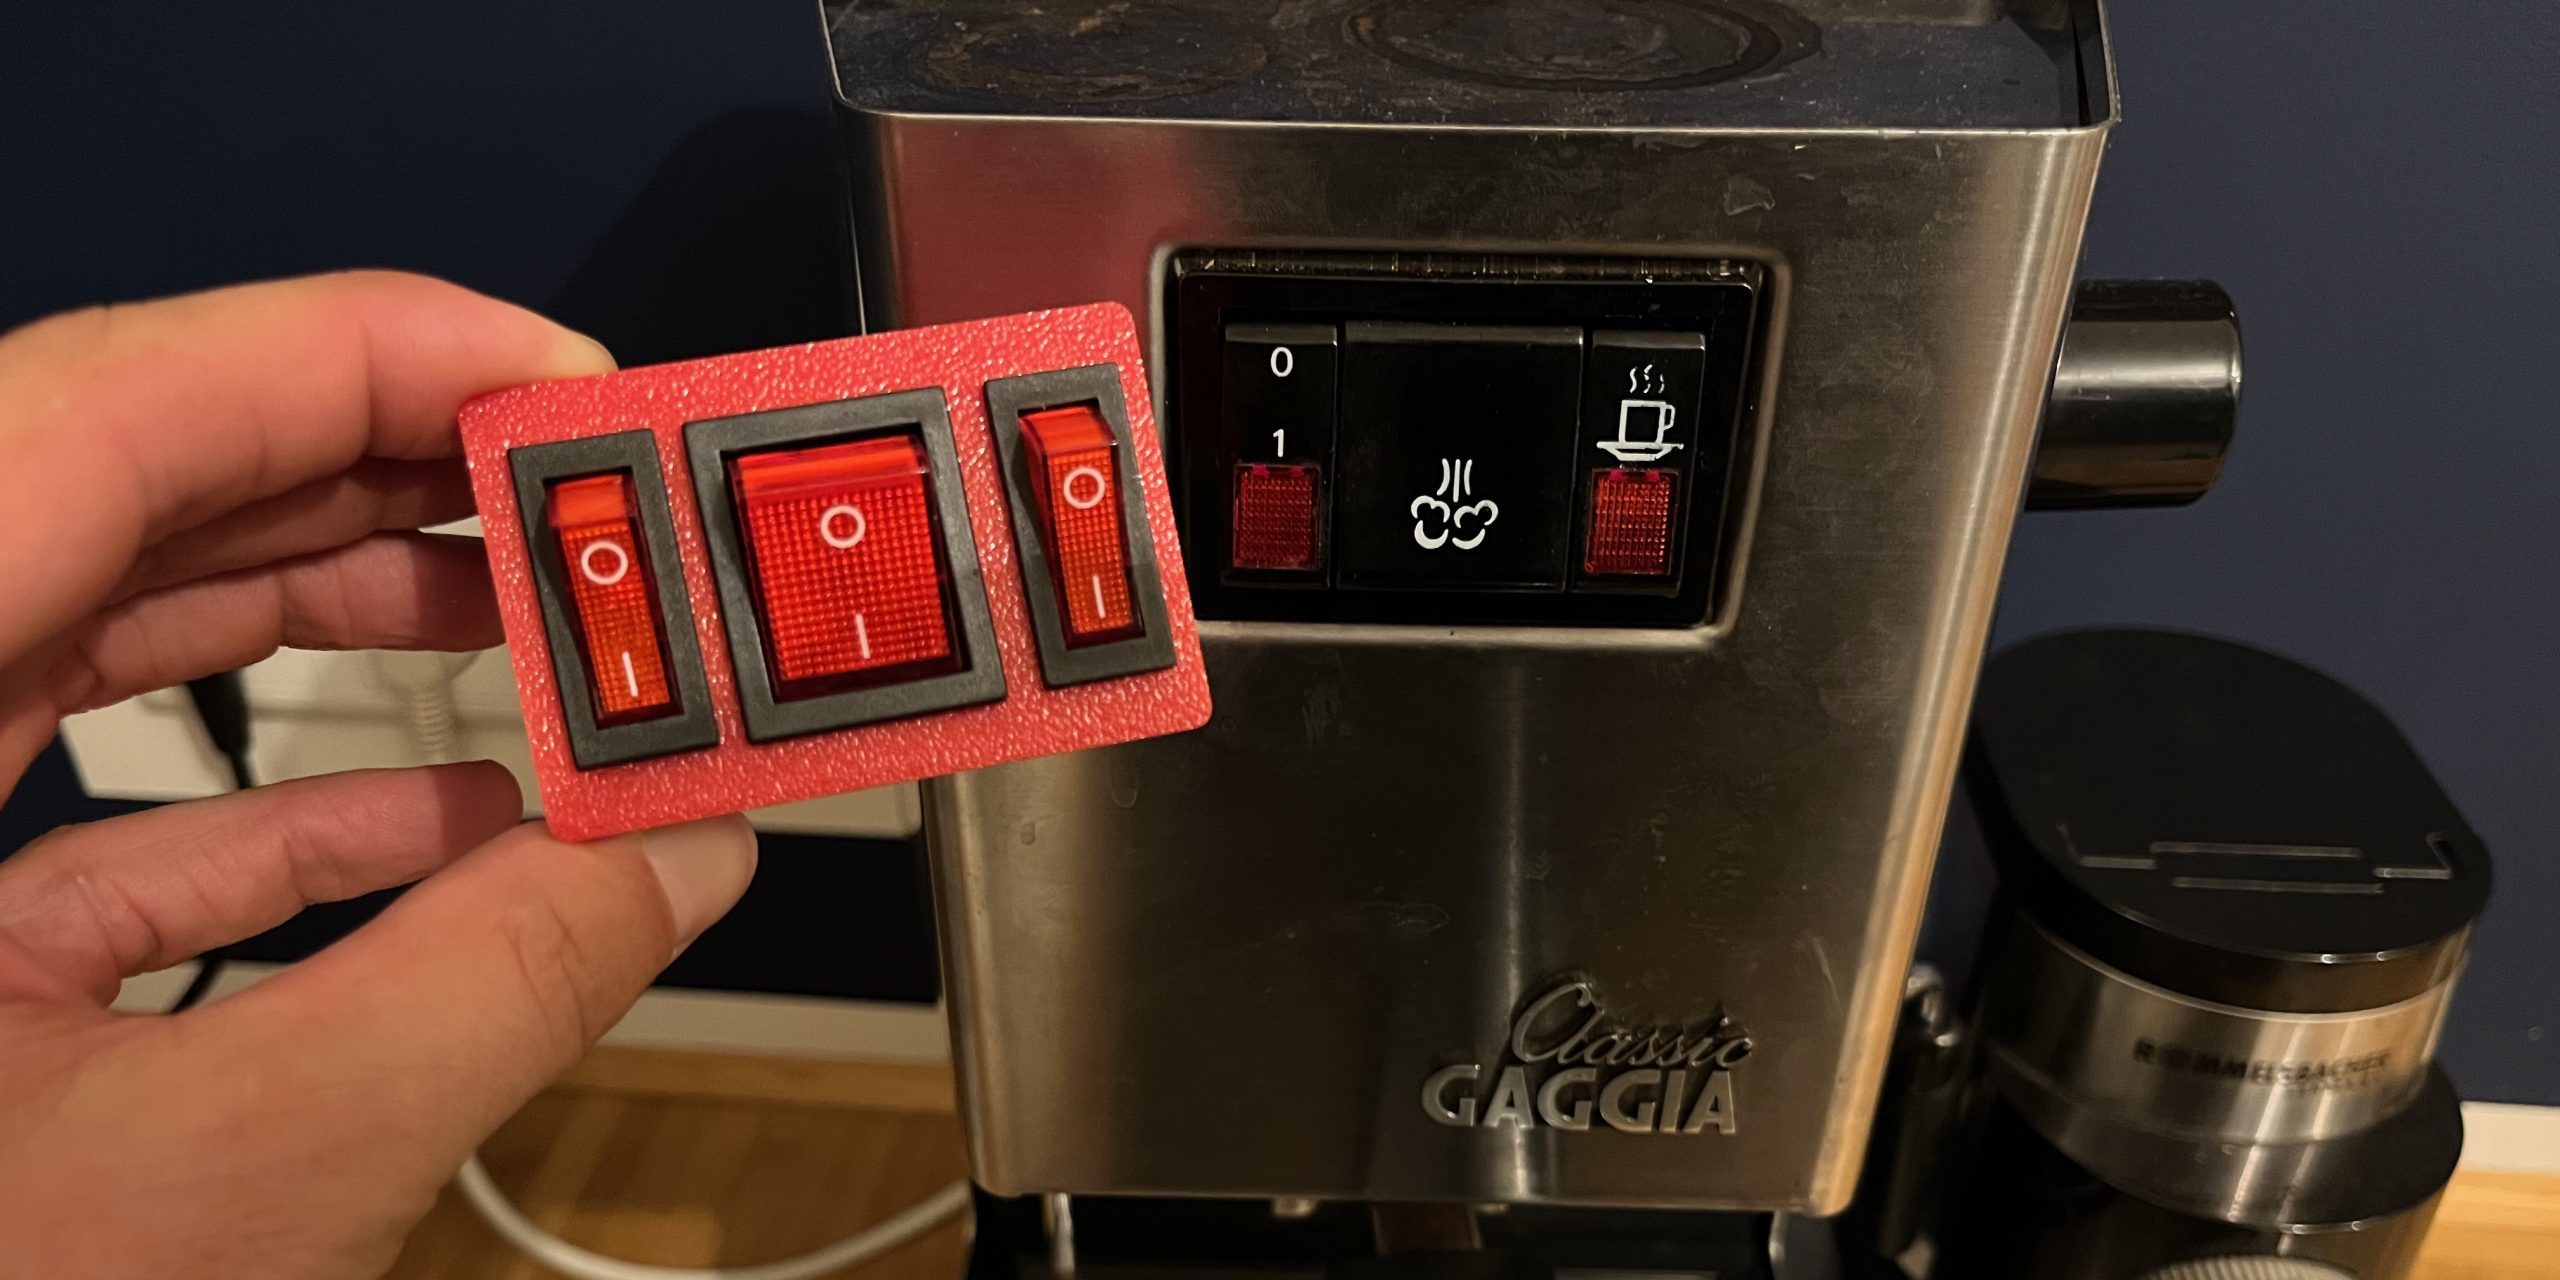
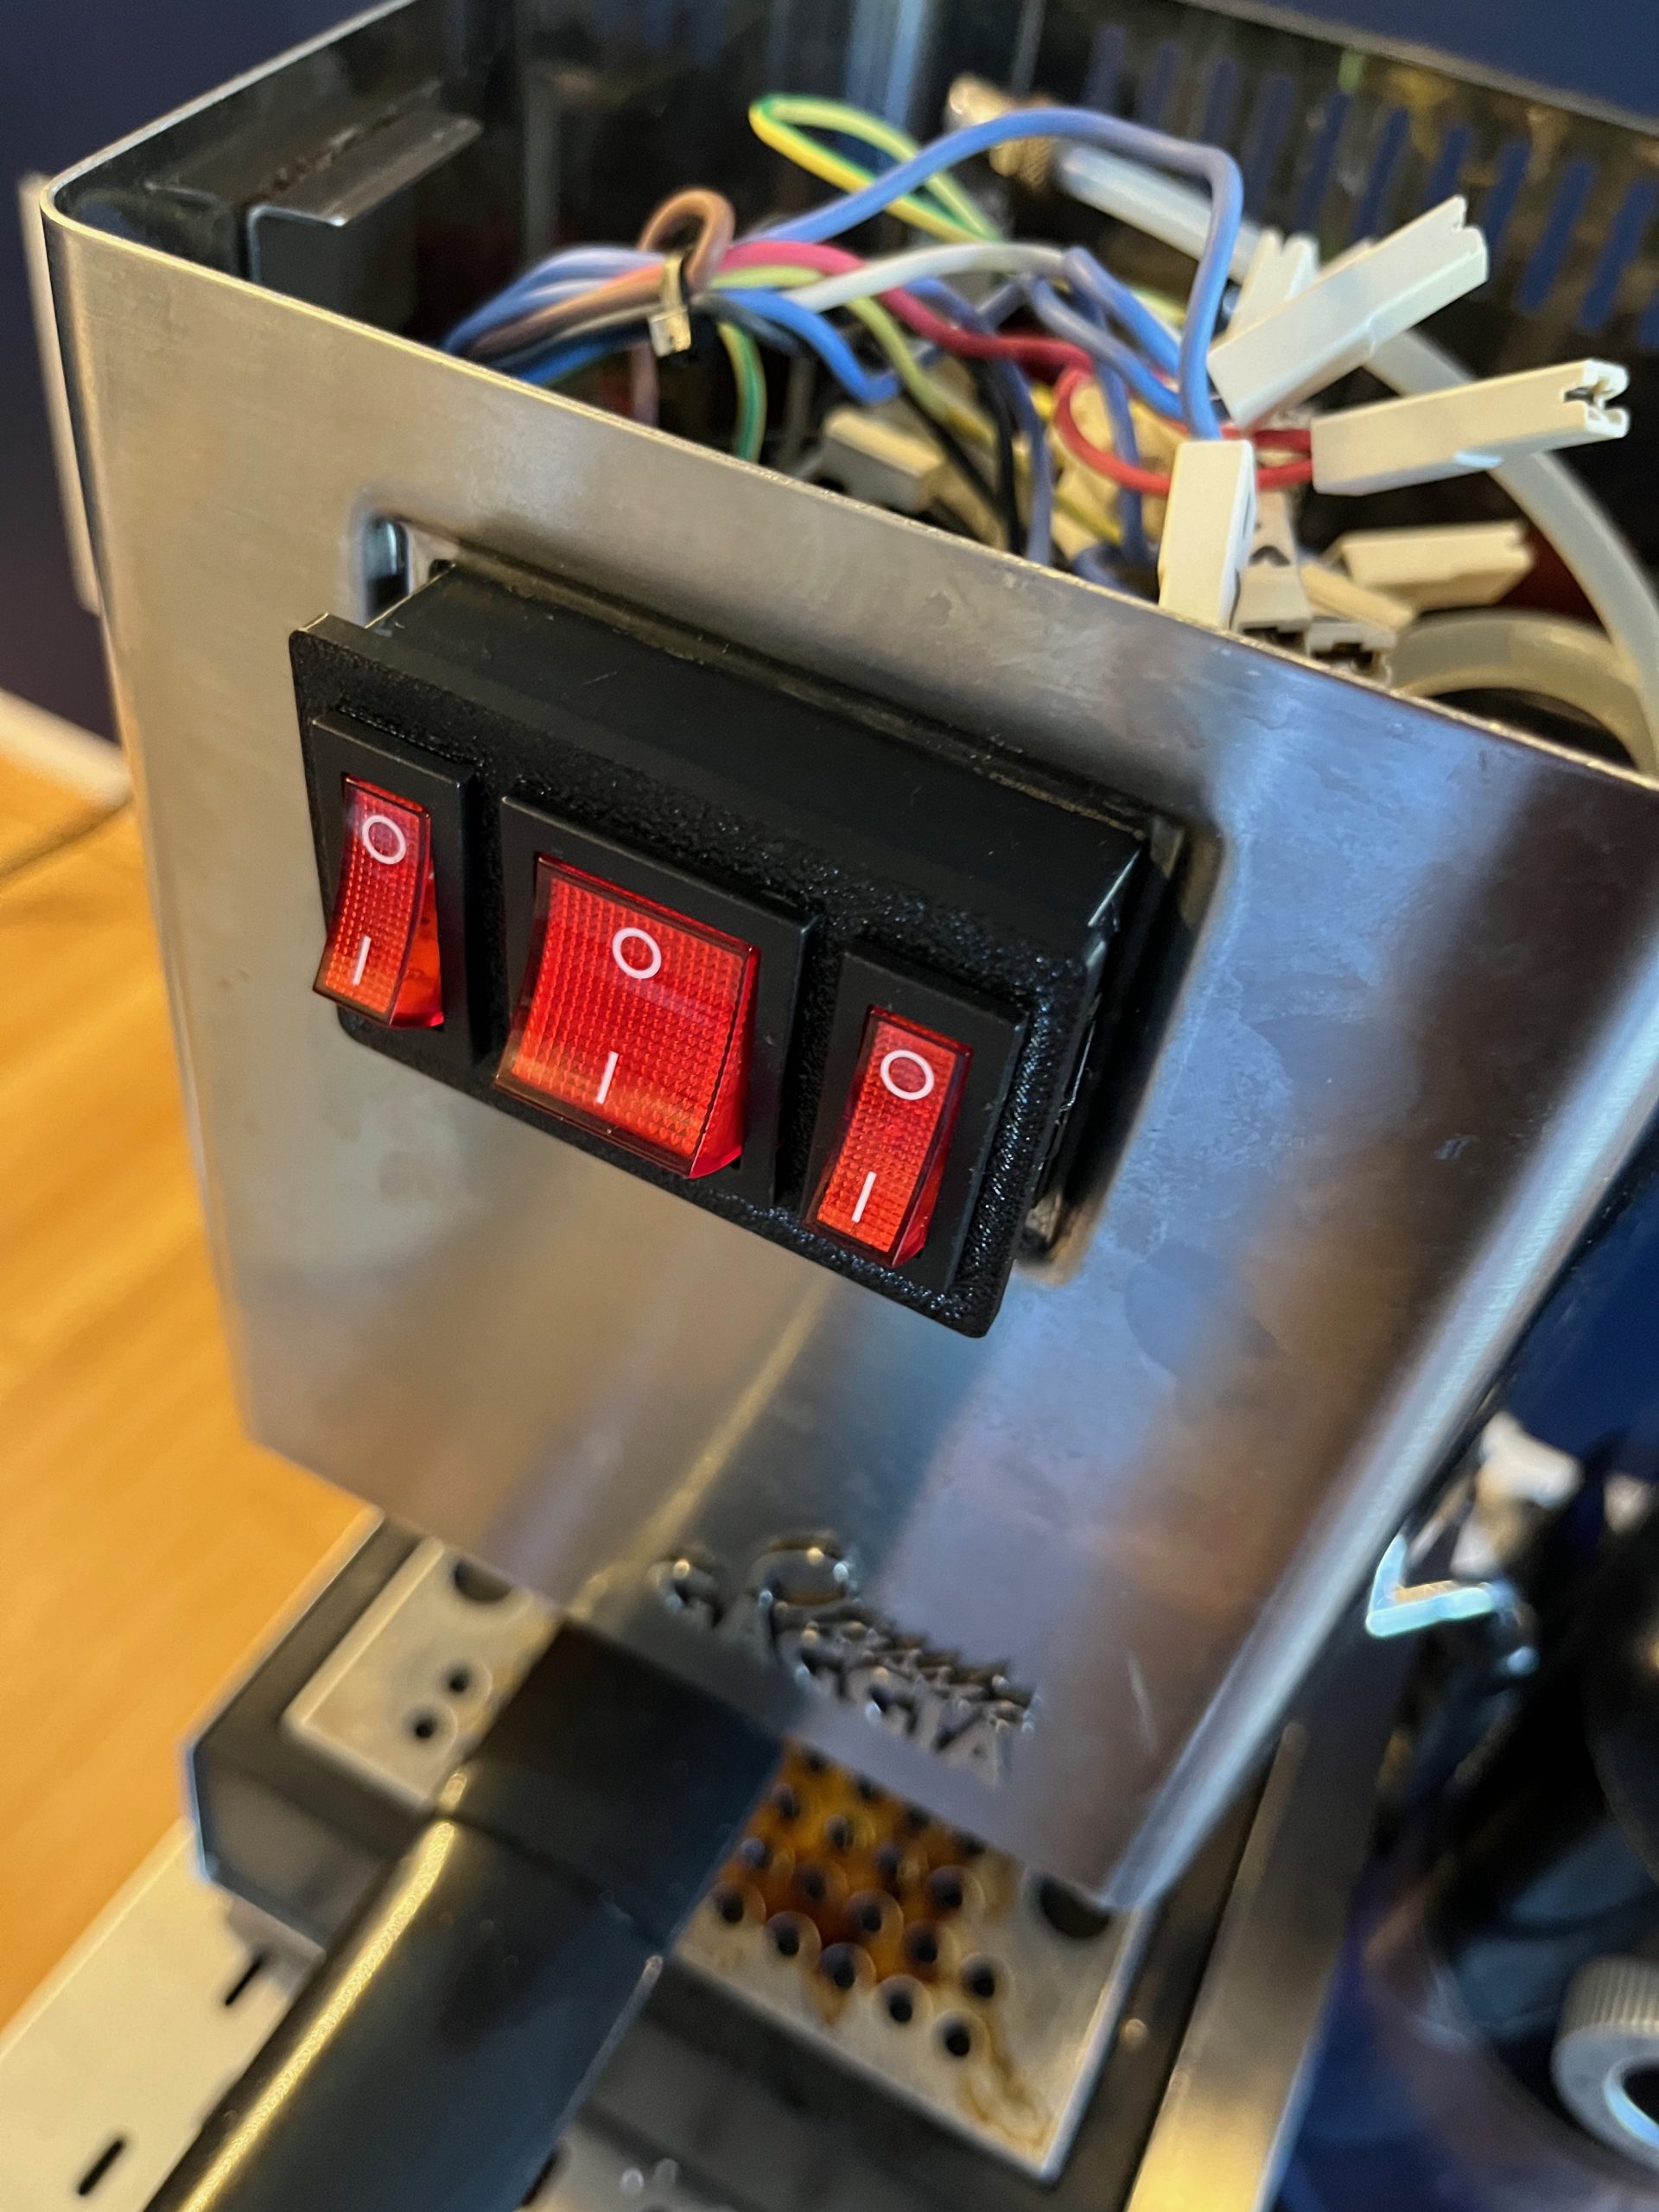
Into this I fitted 2 3 pin rocker switches (€2,90 each), and 1 6 pin rocker switch (€3,90). I ordered these from German independent electronics store MixWare-MegaShop, but you can no doubt find similar elsewhere too. I could not find the right size 6 pin switch without a light, so ordered them all with a light – which turned out to be a good call (see below). This is how it then looks – before mounting:
So how do you mount it? It is a quick and simple repair.
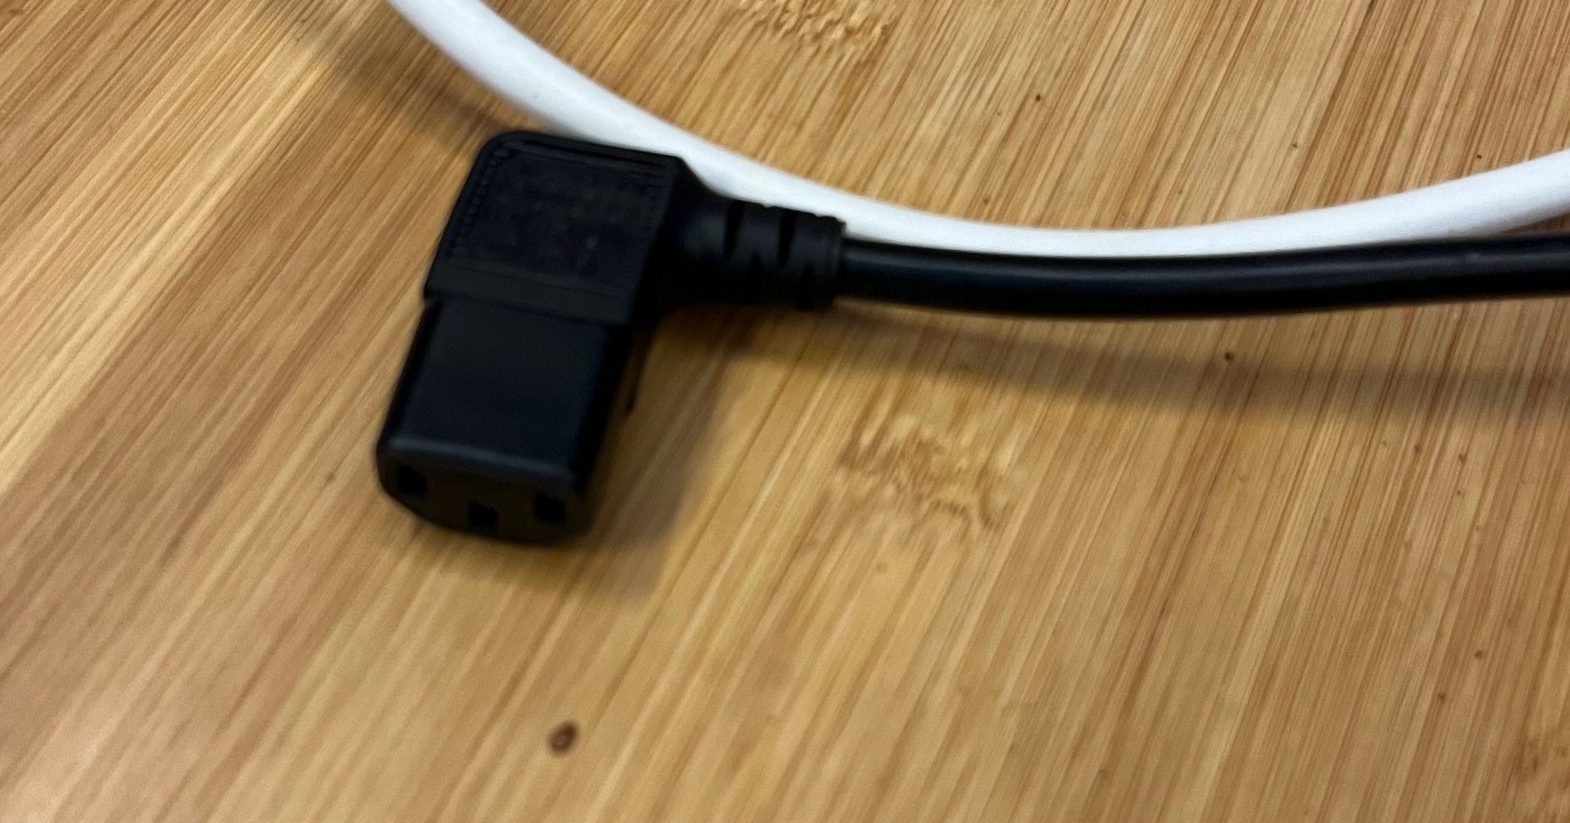
1. Disconnect the mains power
2. Unscrew the two screws on the top of the Classic
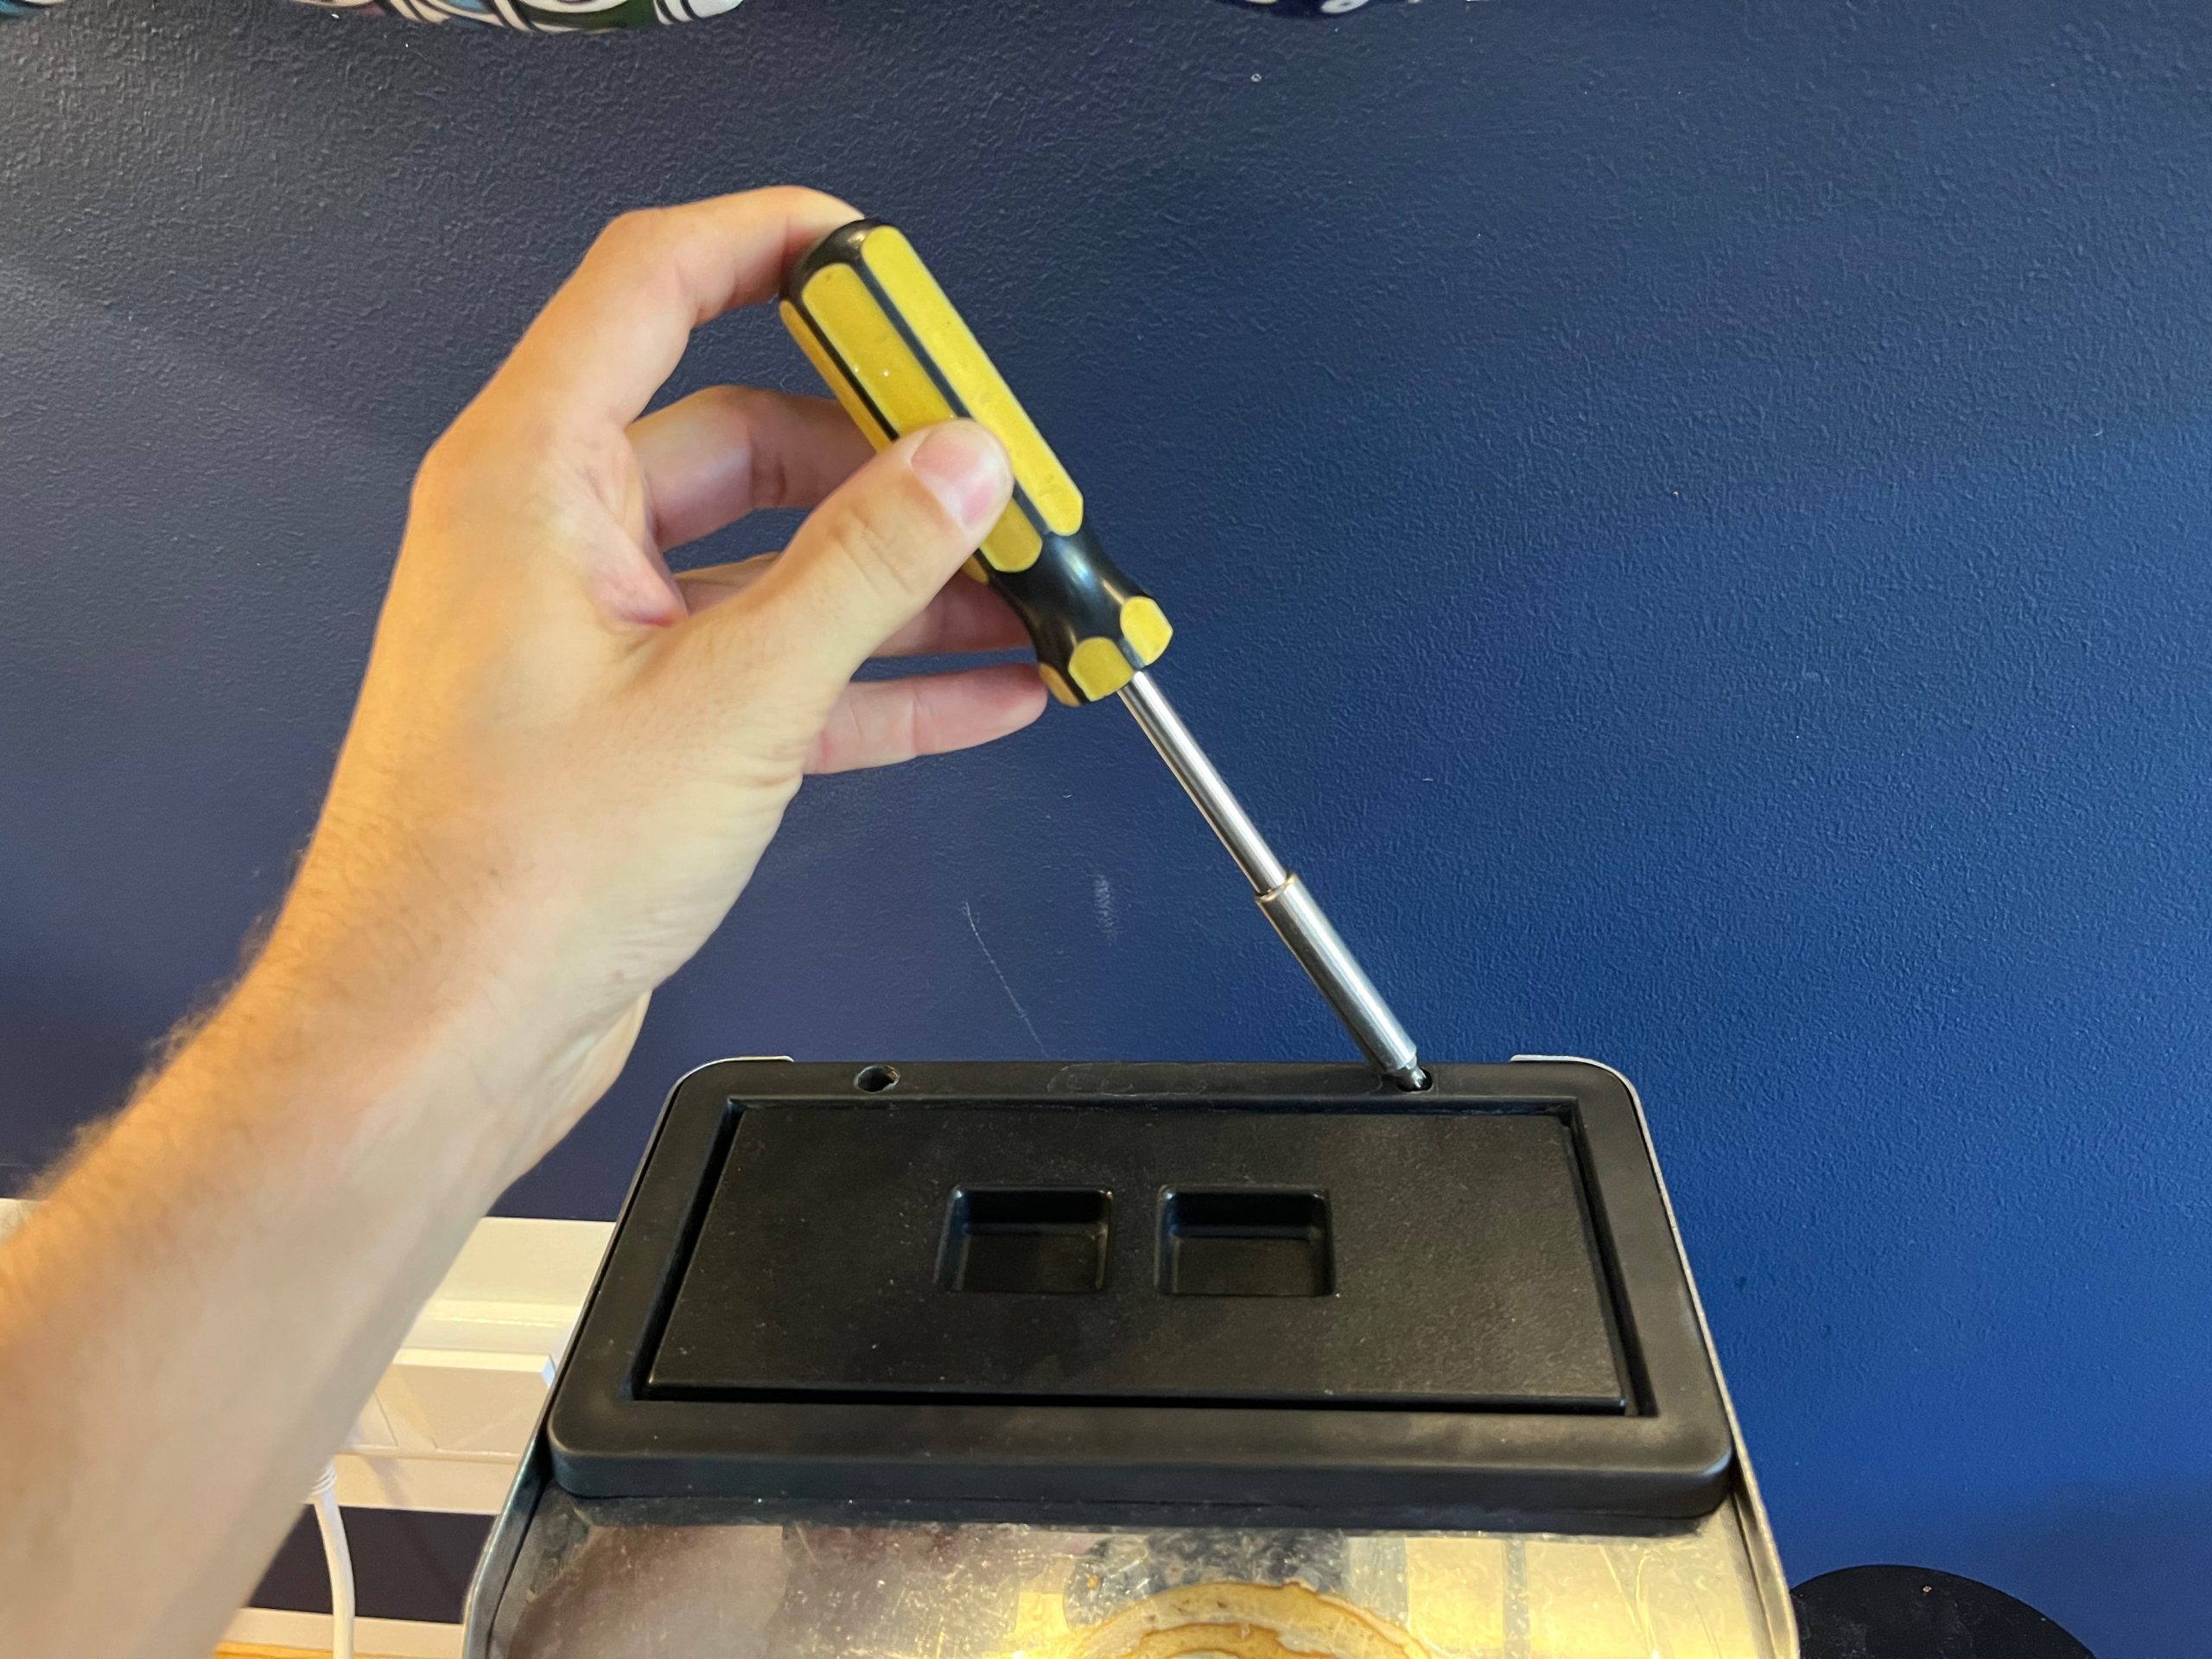
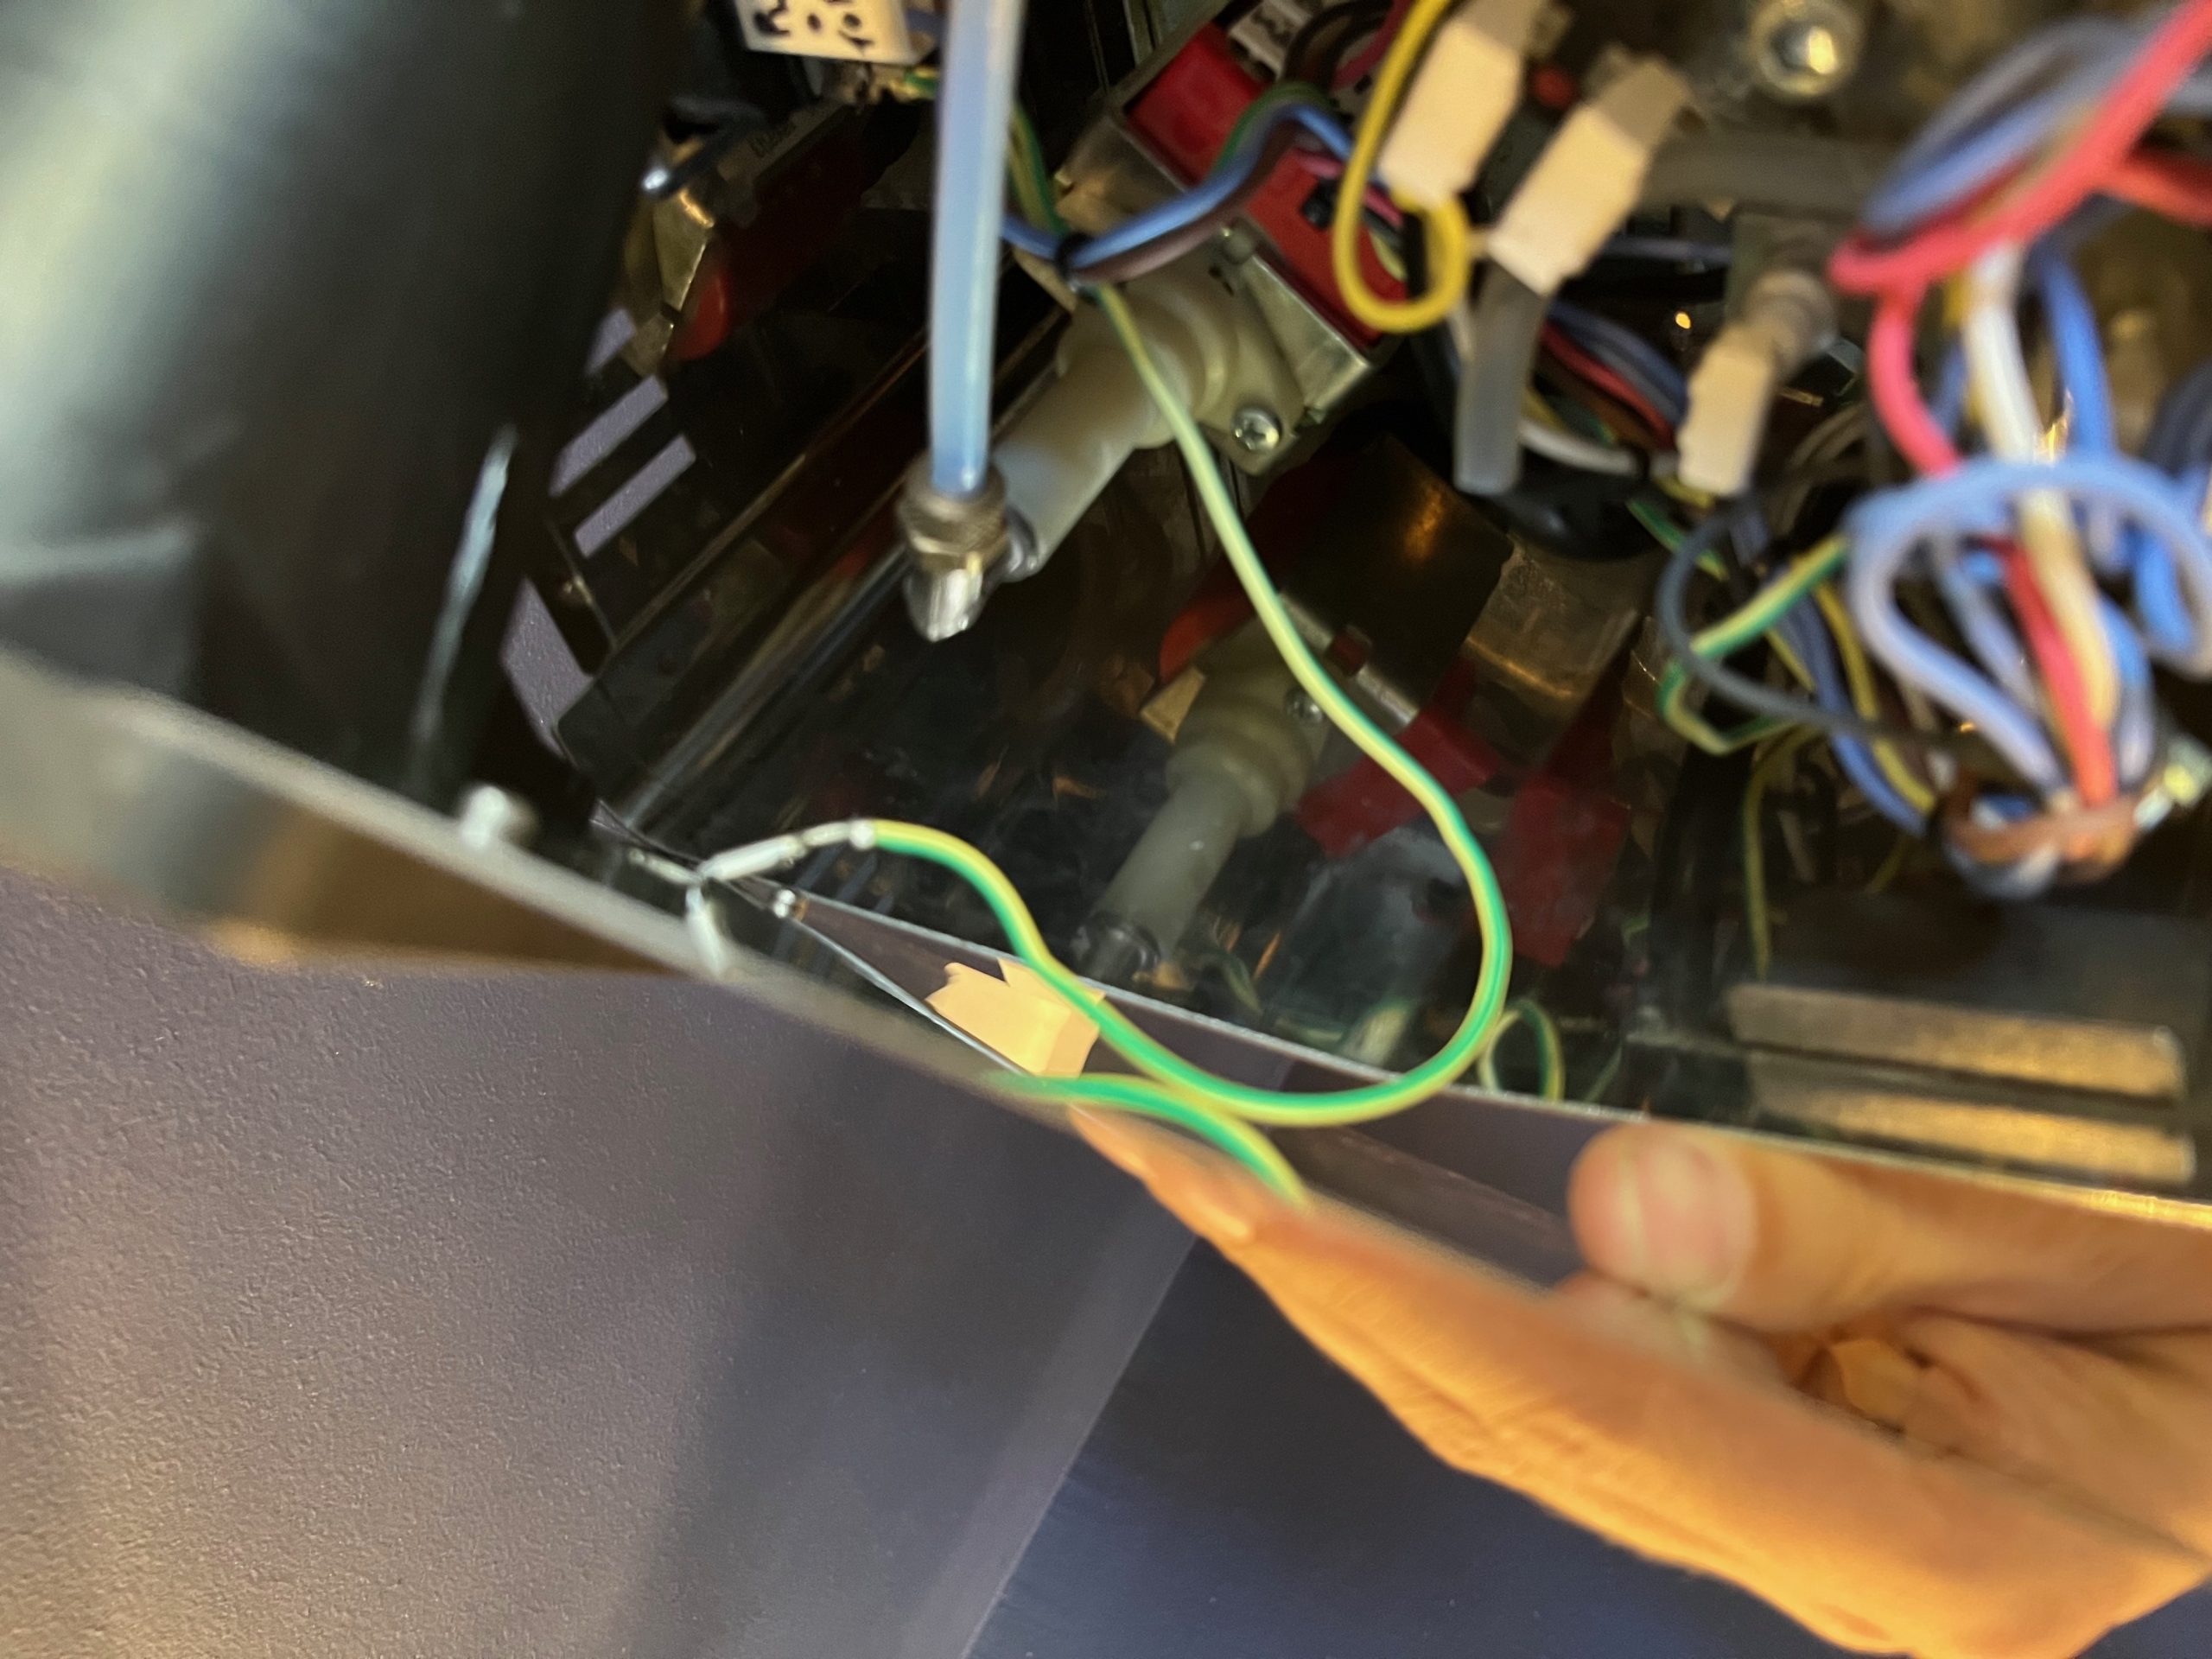
3. Carefully lift off the lid, from the back first, and make sure to disconnect the earth cable underneath
4) Remove the little rubber mount at the front that the lid sits in (not all Classics have this, but mine does), and set this aside
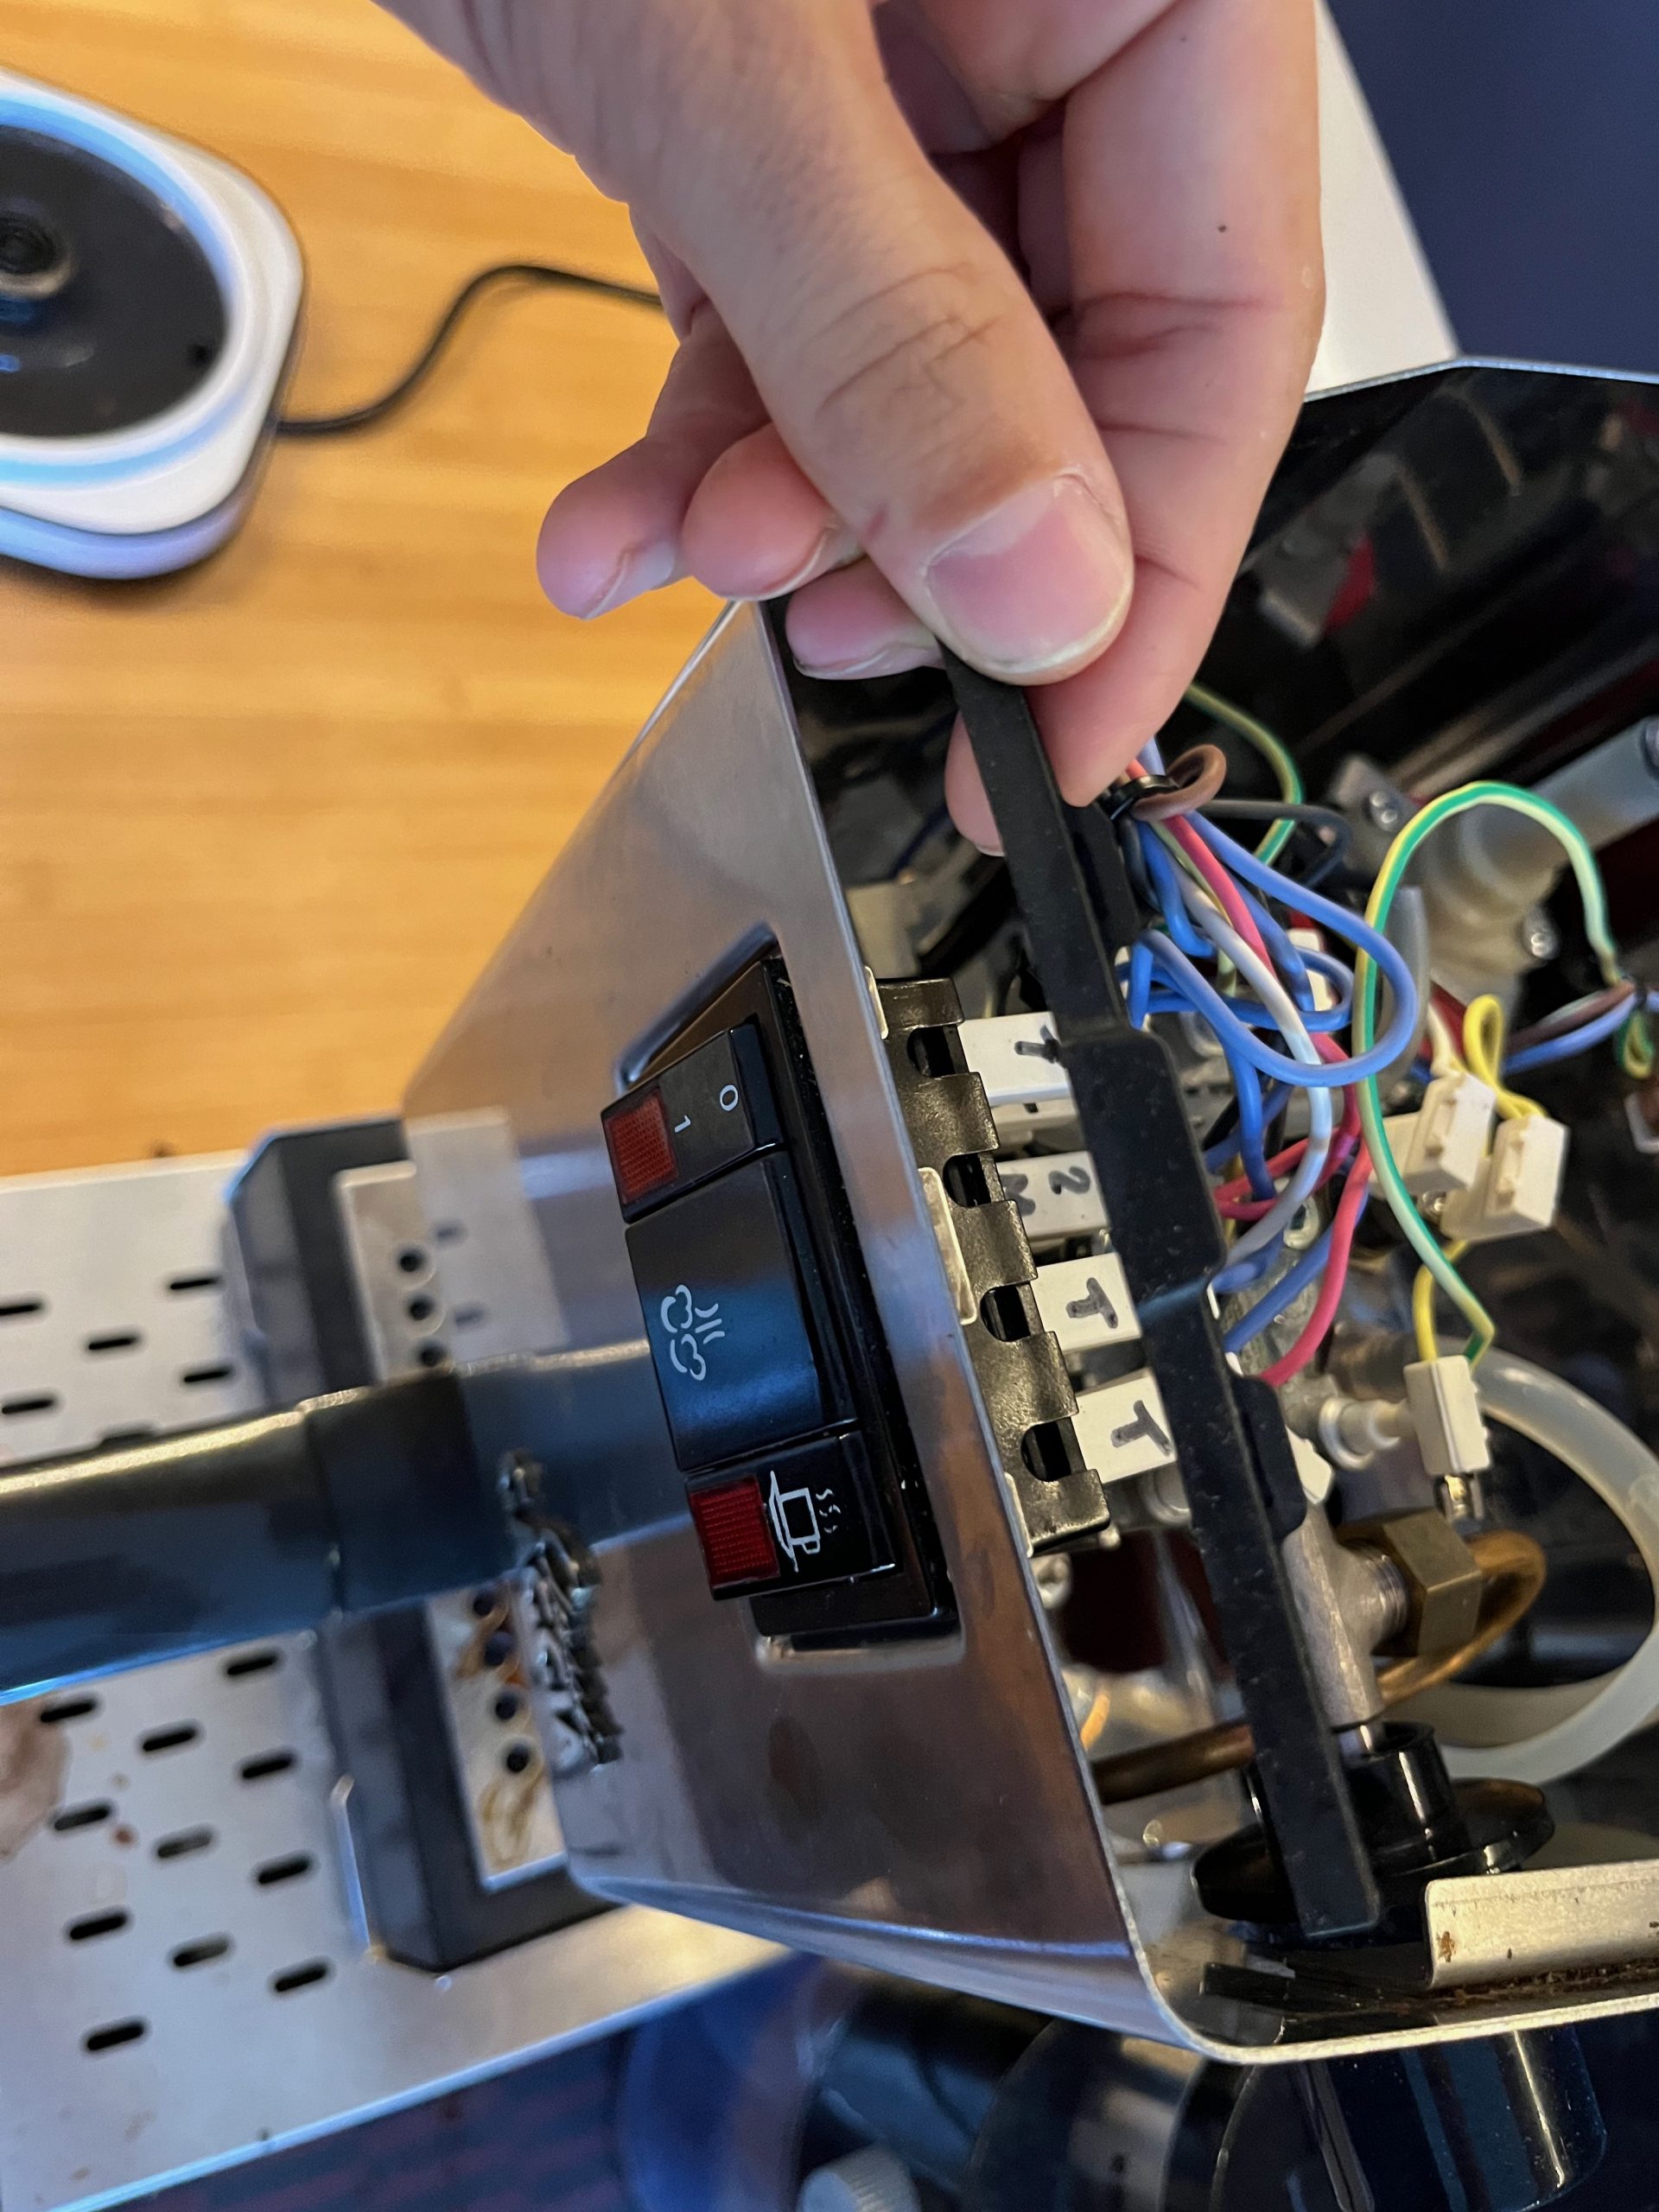
5) Remove the small metal frame around the switchbank (you might need to carefully pry this off with a flat headed screwdriver) and set it aside.
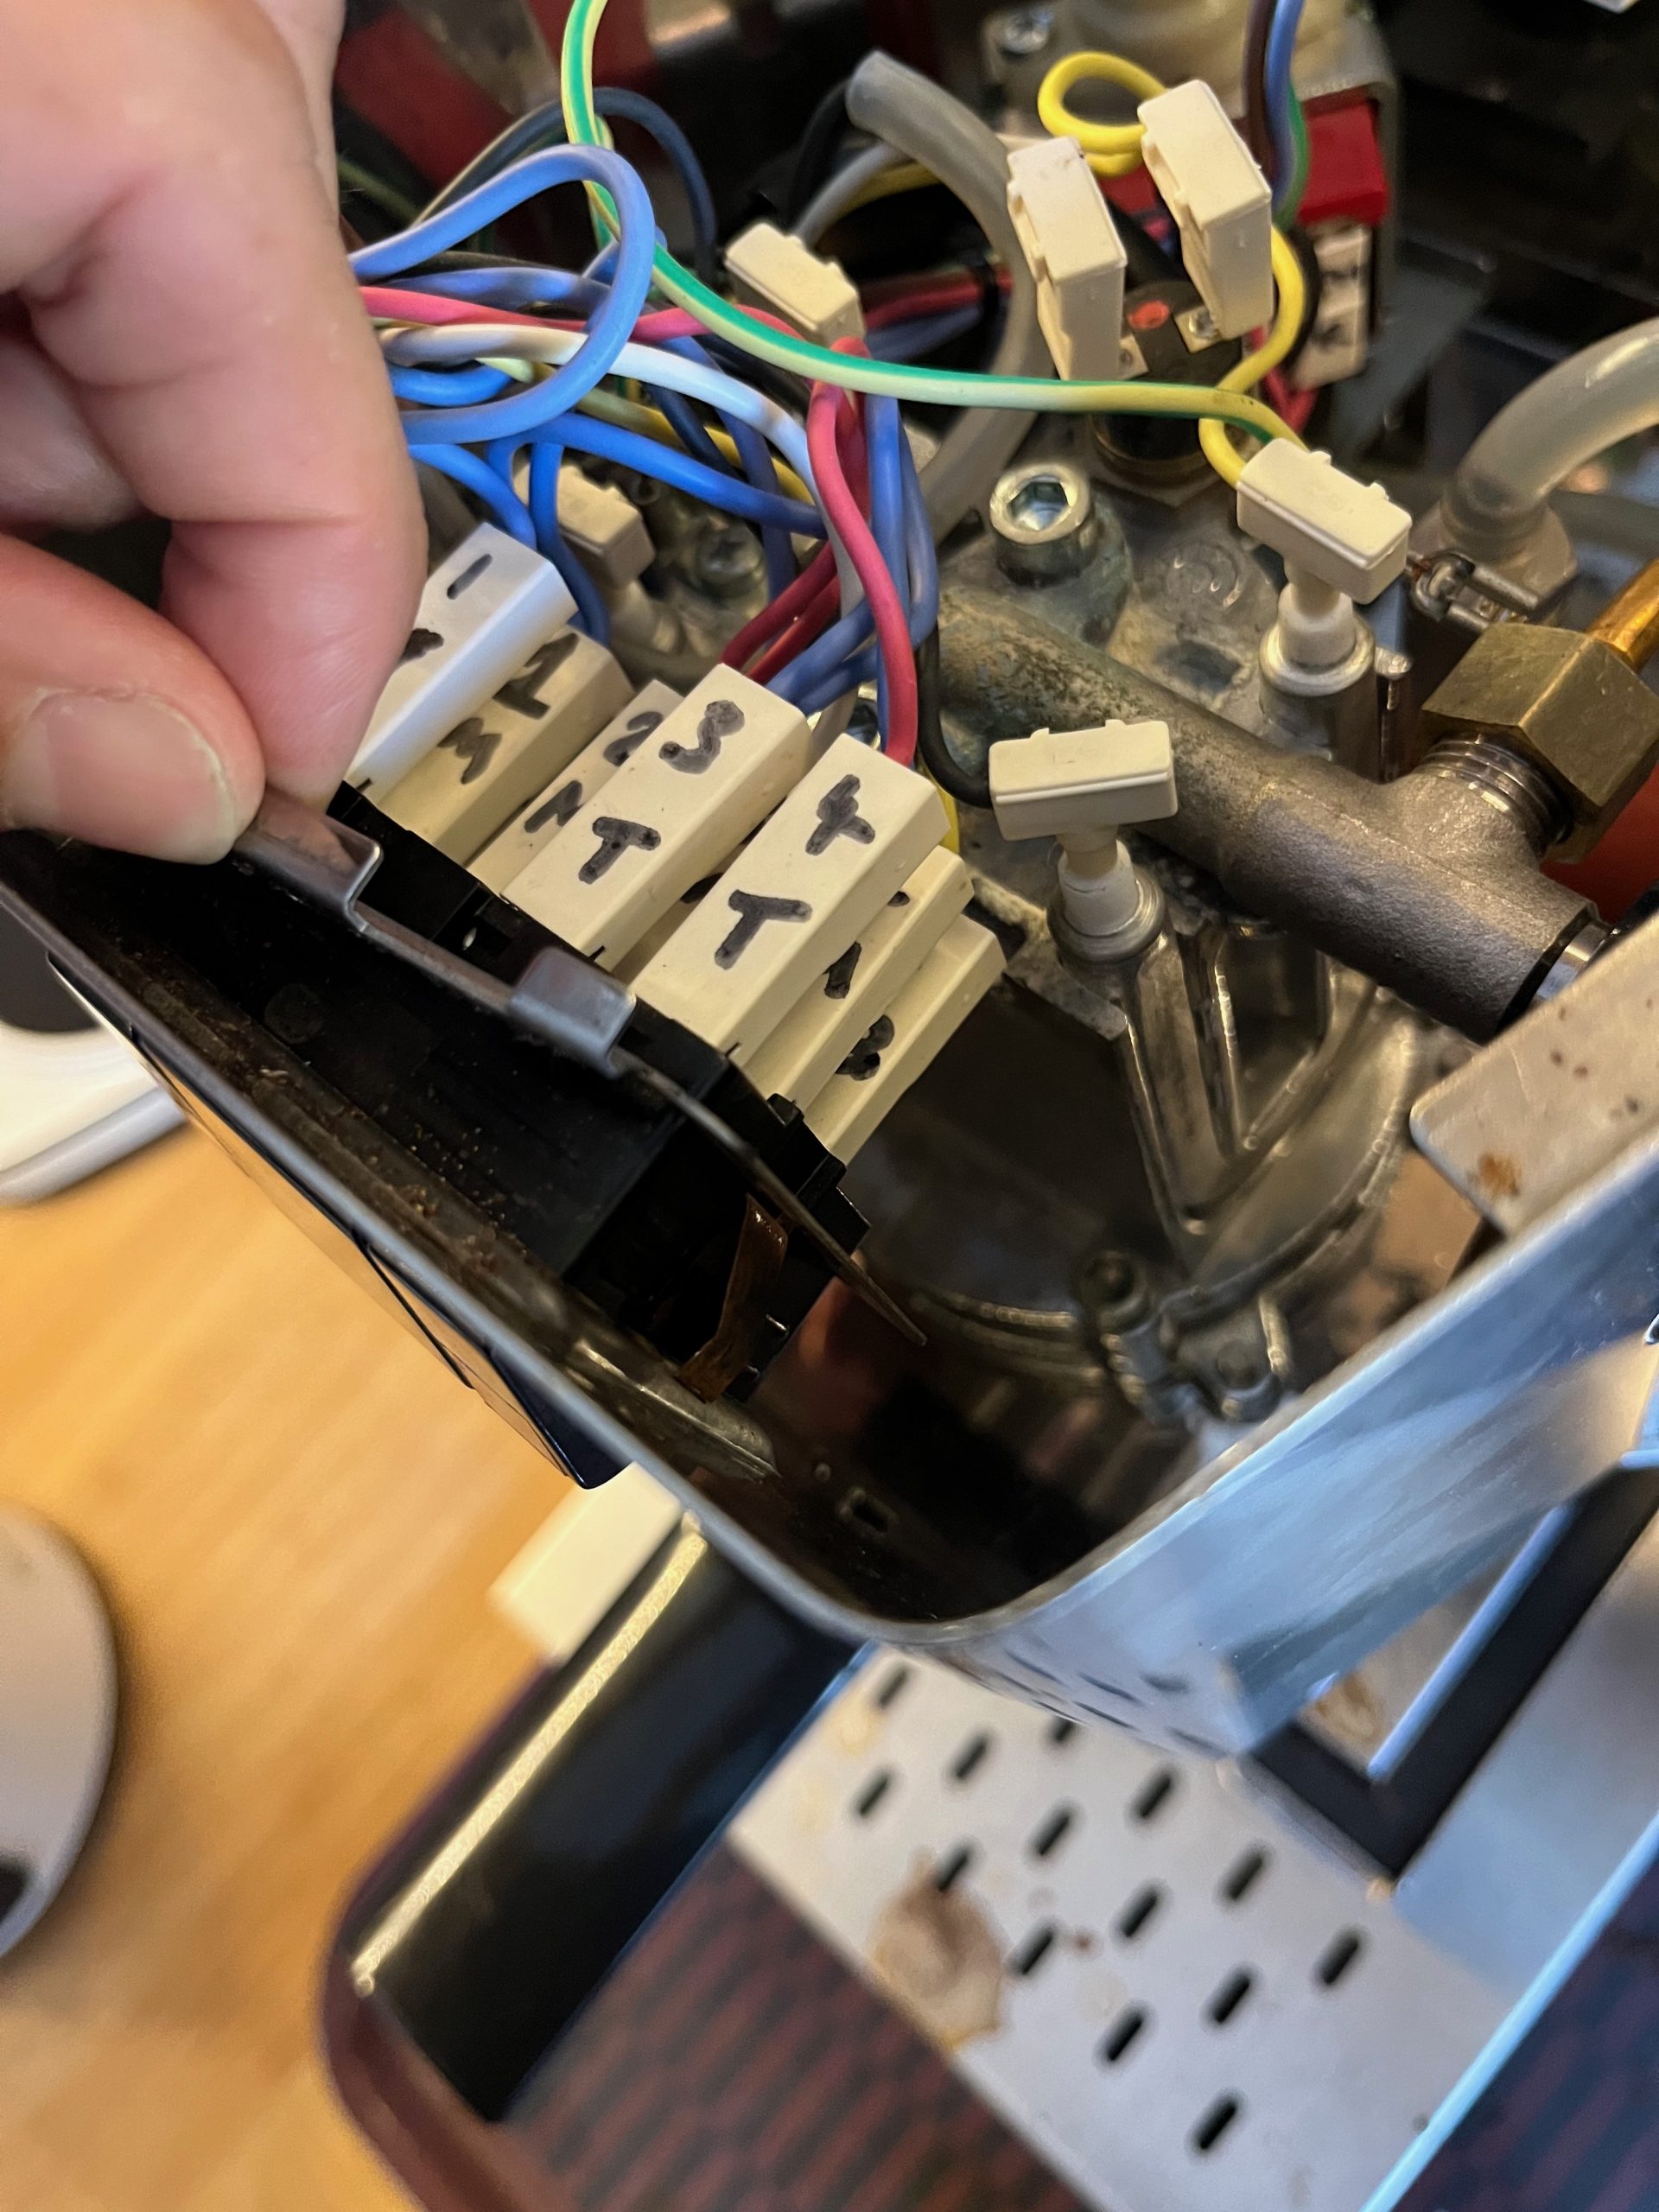
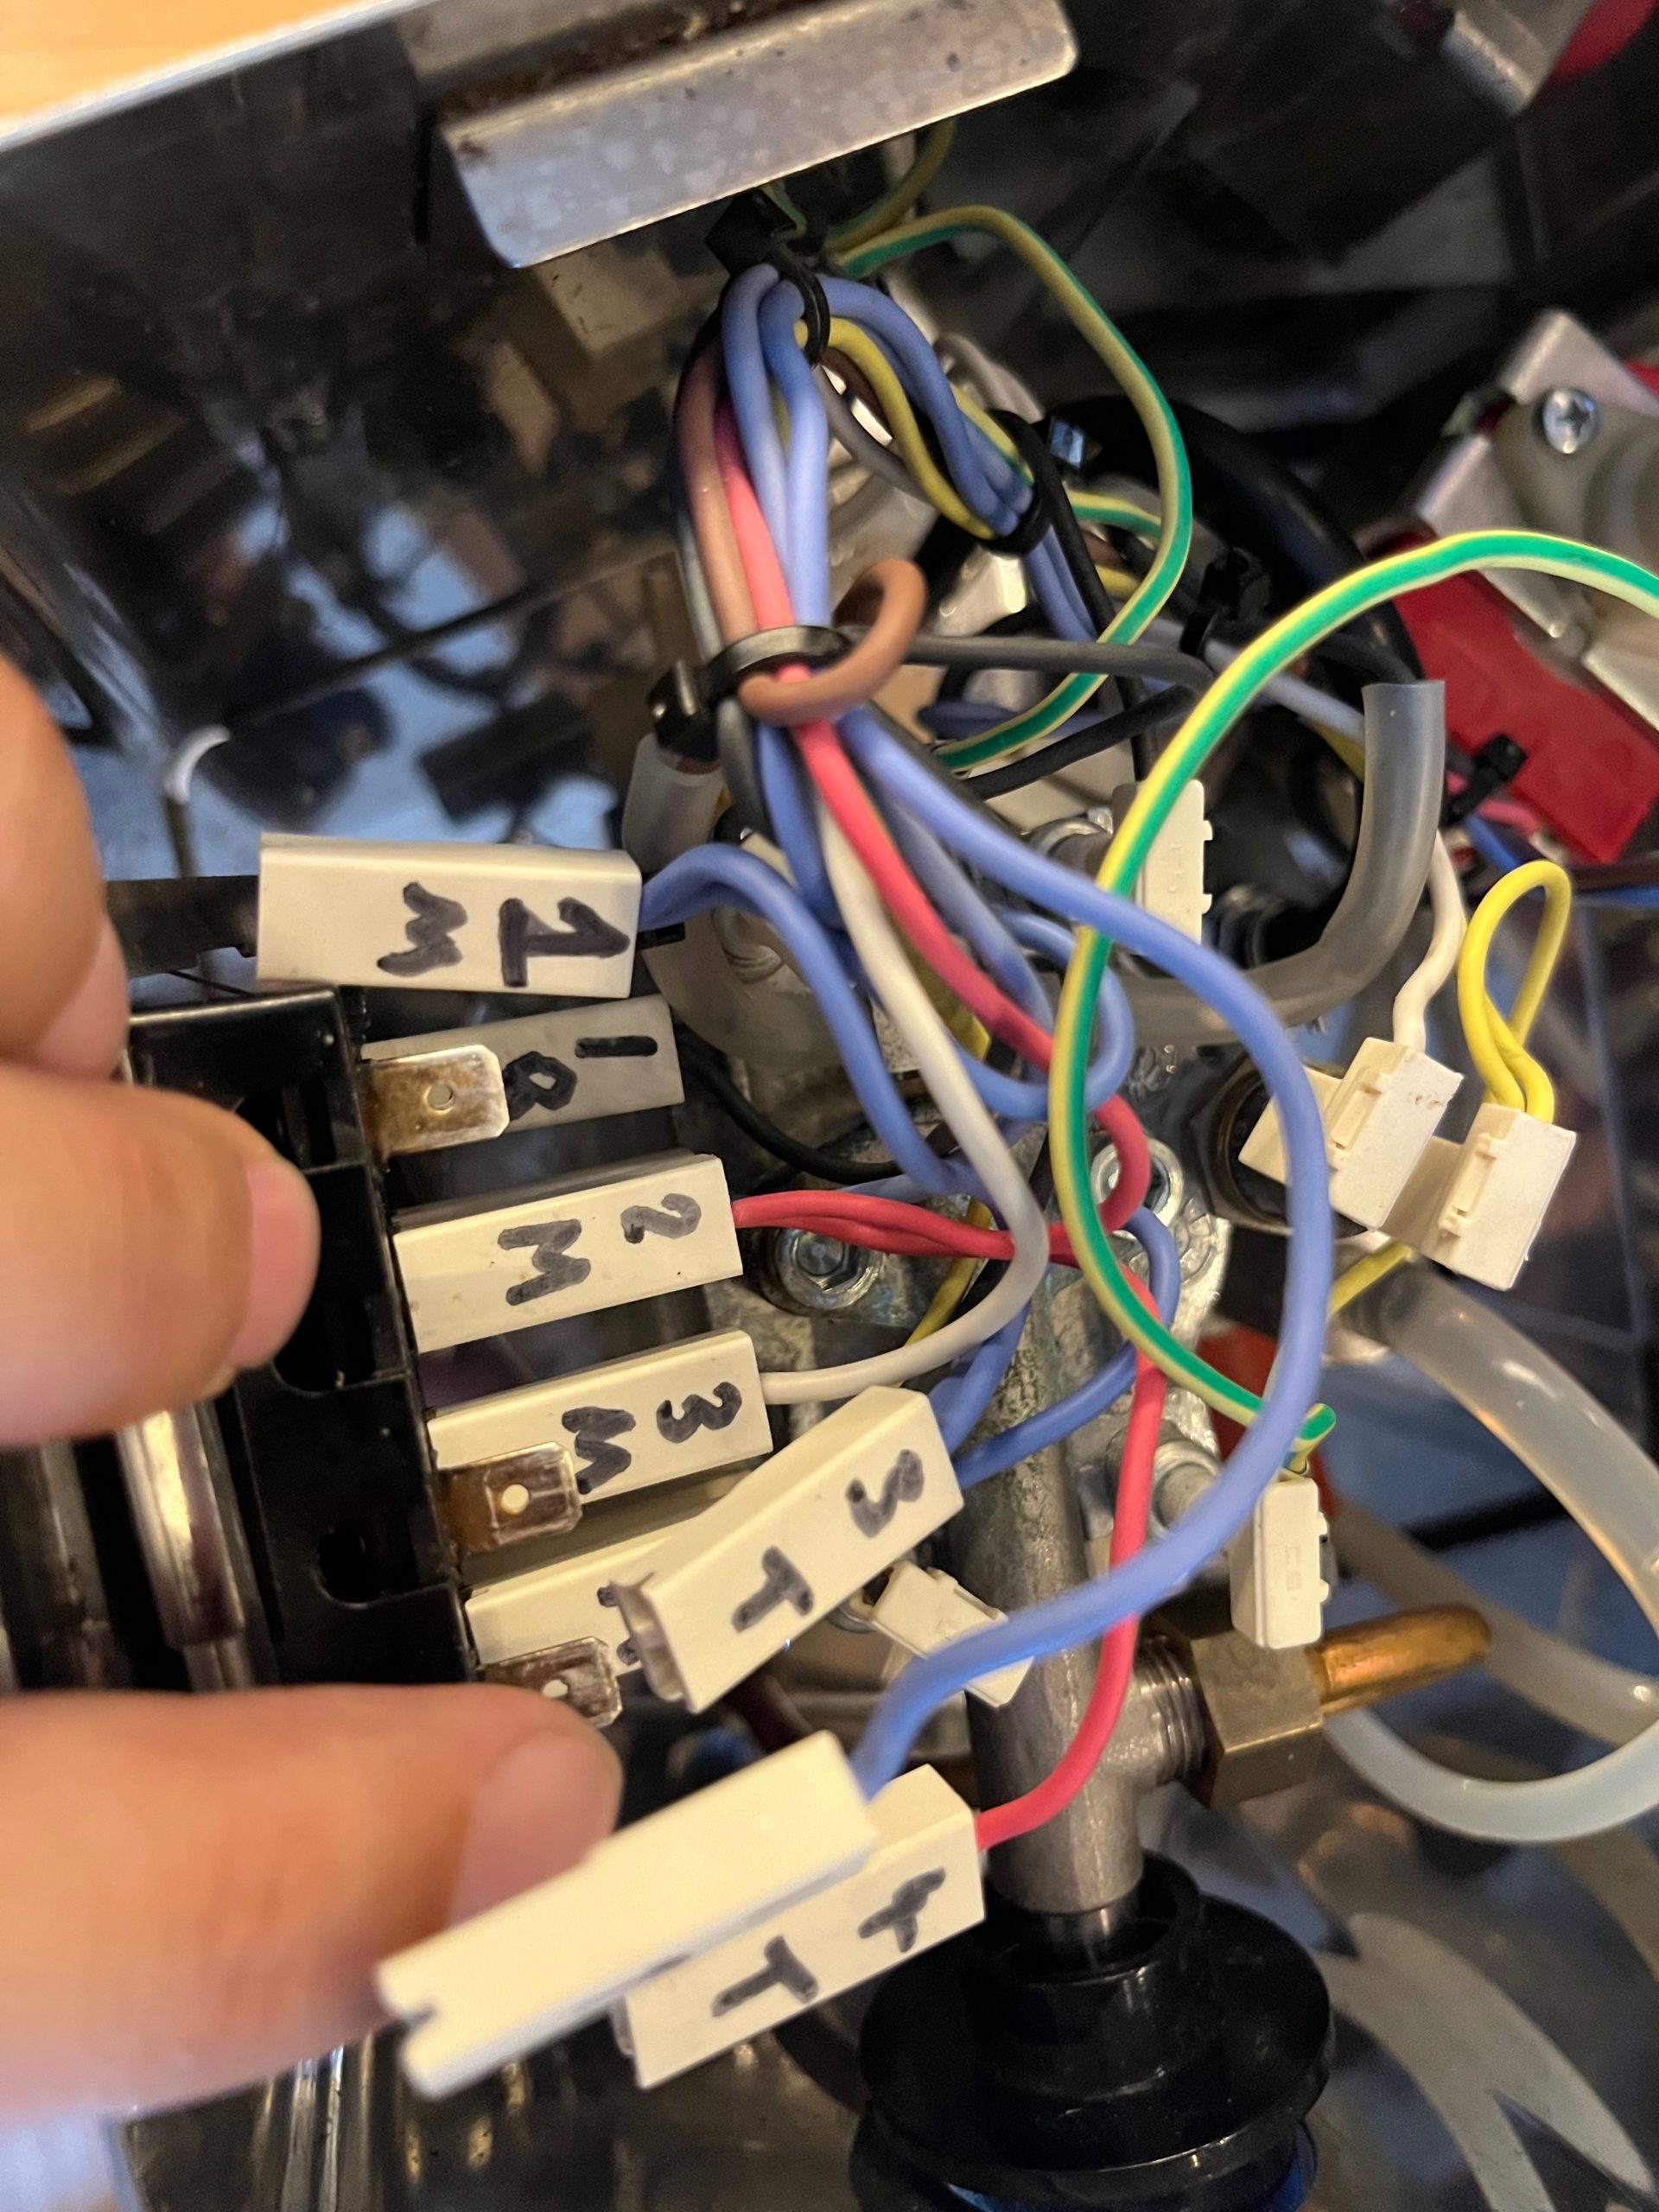
6) Carefully remove each plug from the switchbank, and number them with a permanent marker so you know which one goes where when you re-assemble. I simply numbered 1-4 from left to right, and T-M-B for top middle and bottom. If the plugs do not come off by hand, pry gently with a screwdriver. Once this is done you can remove the switchbank – you need to push on the metal lugs on either side of the switchbank, probably again with a screwdriver.
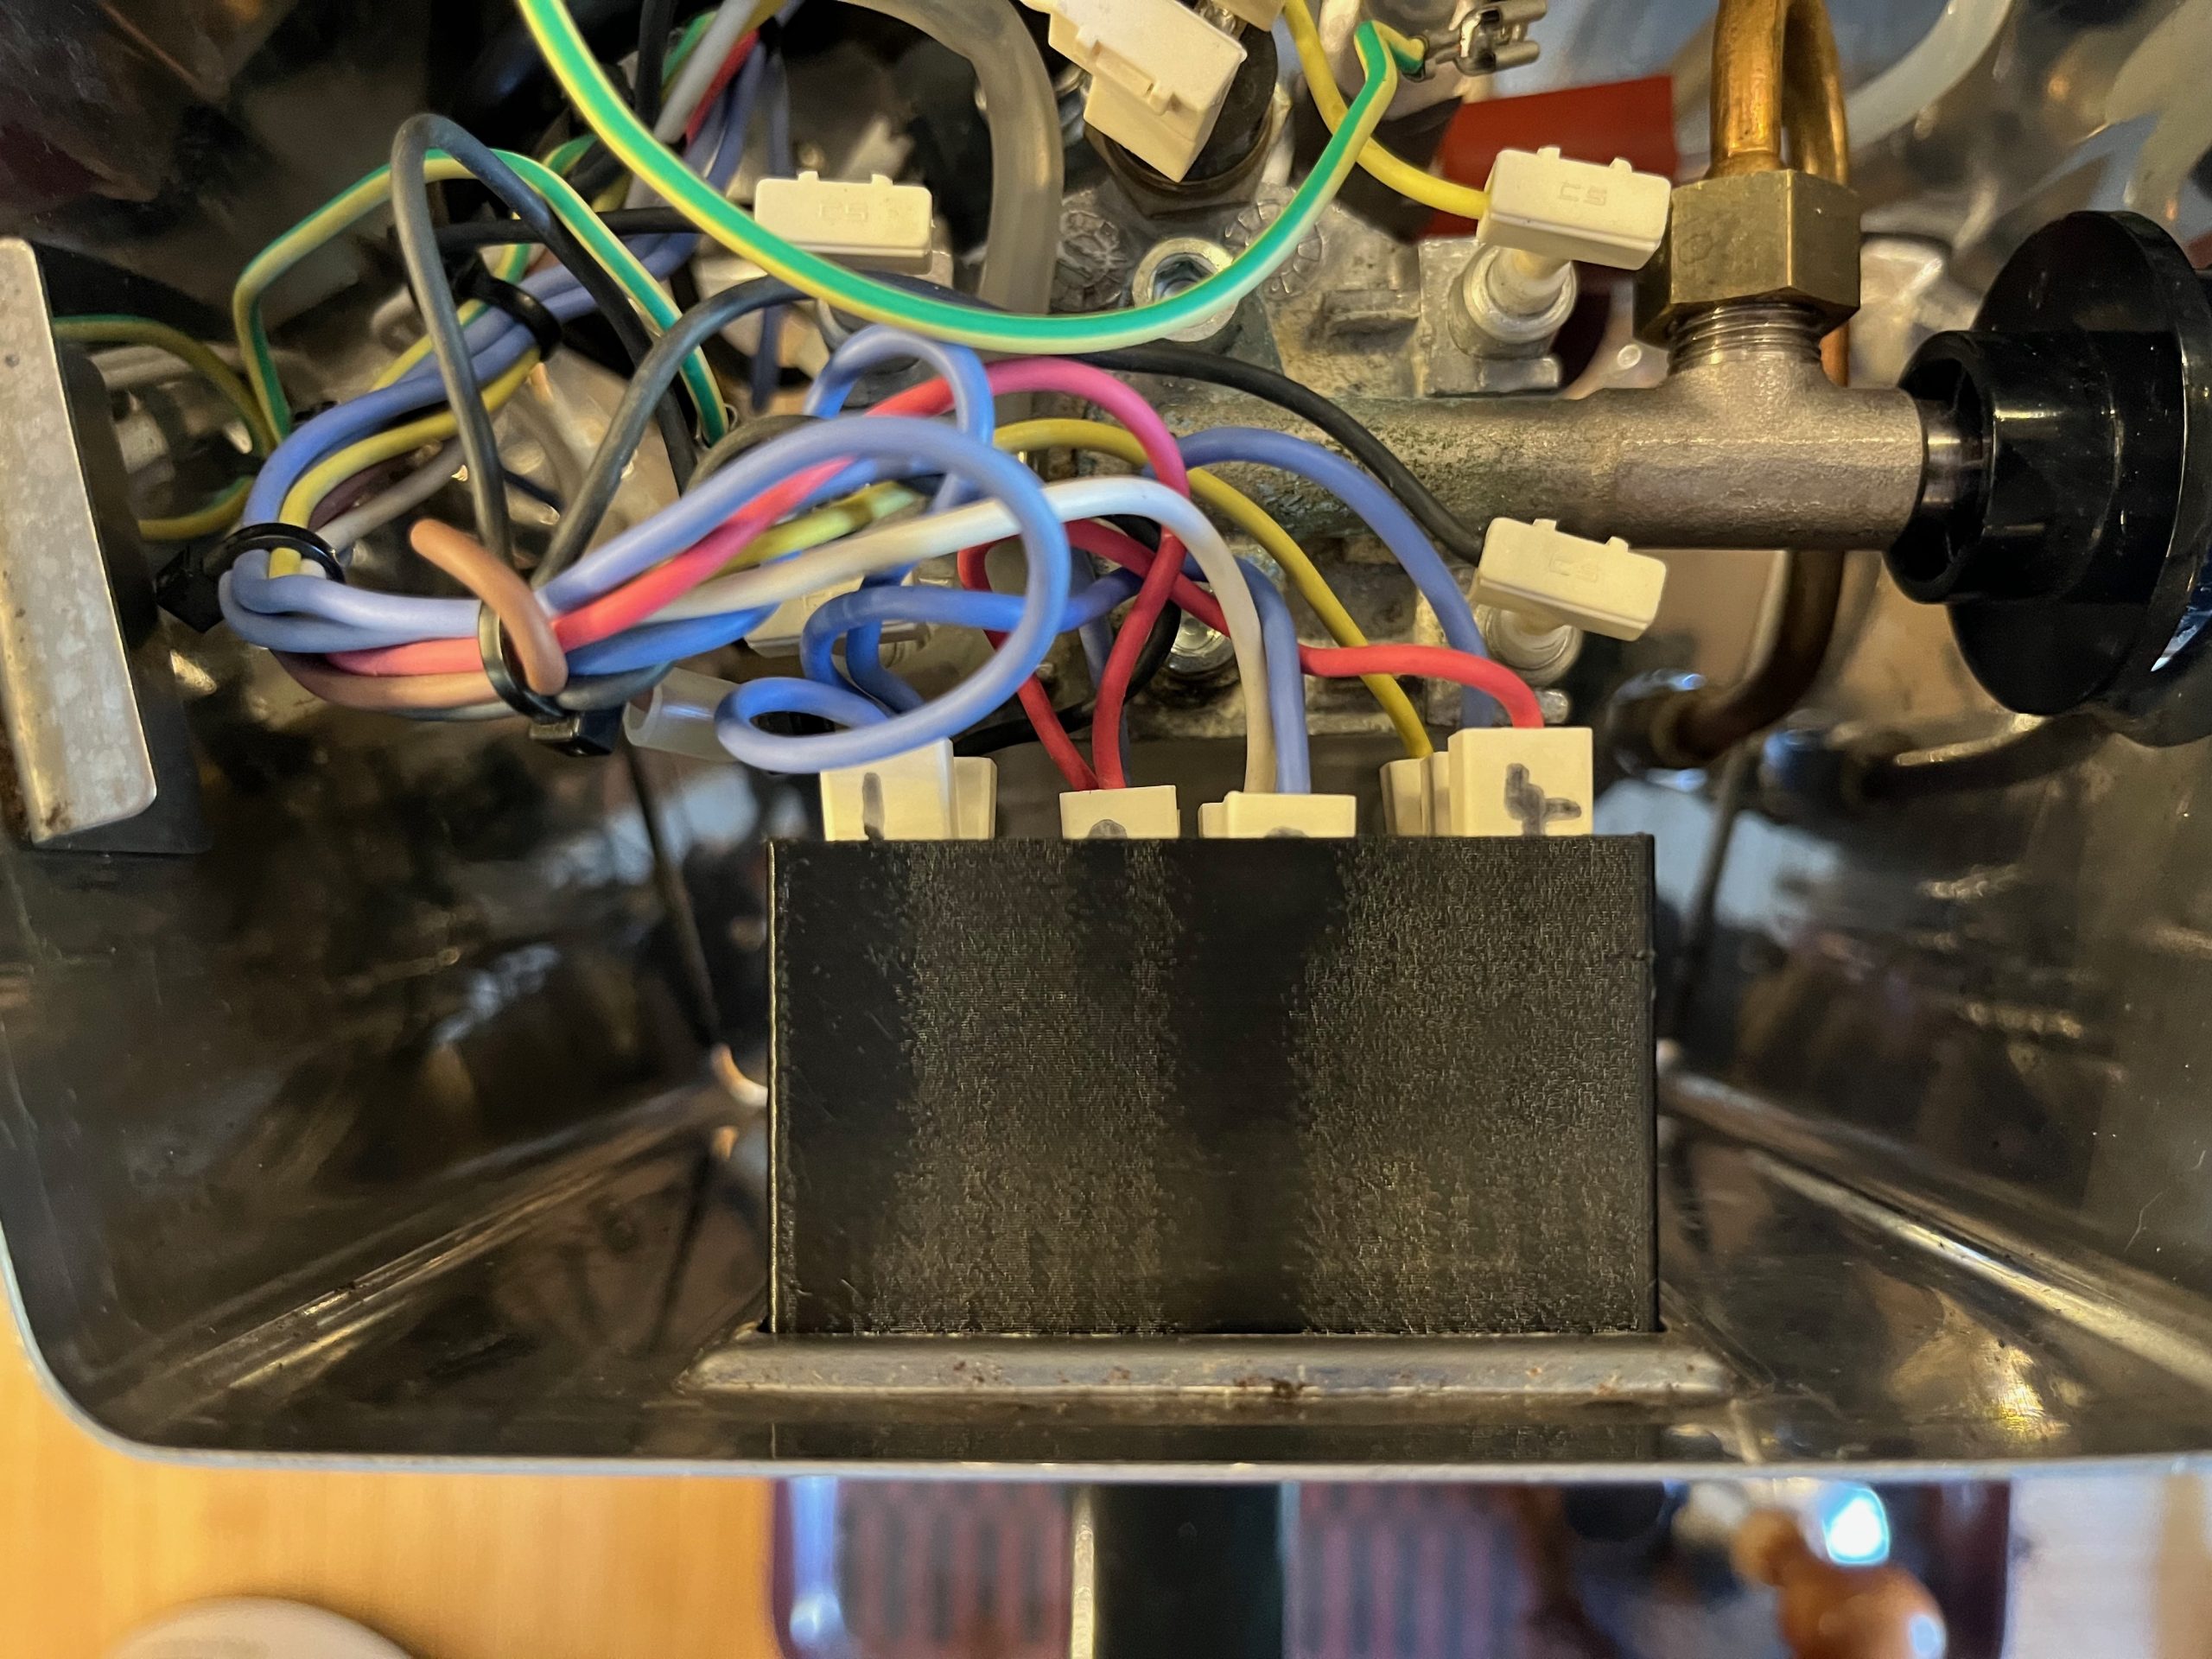
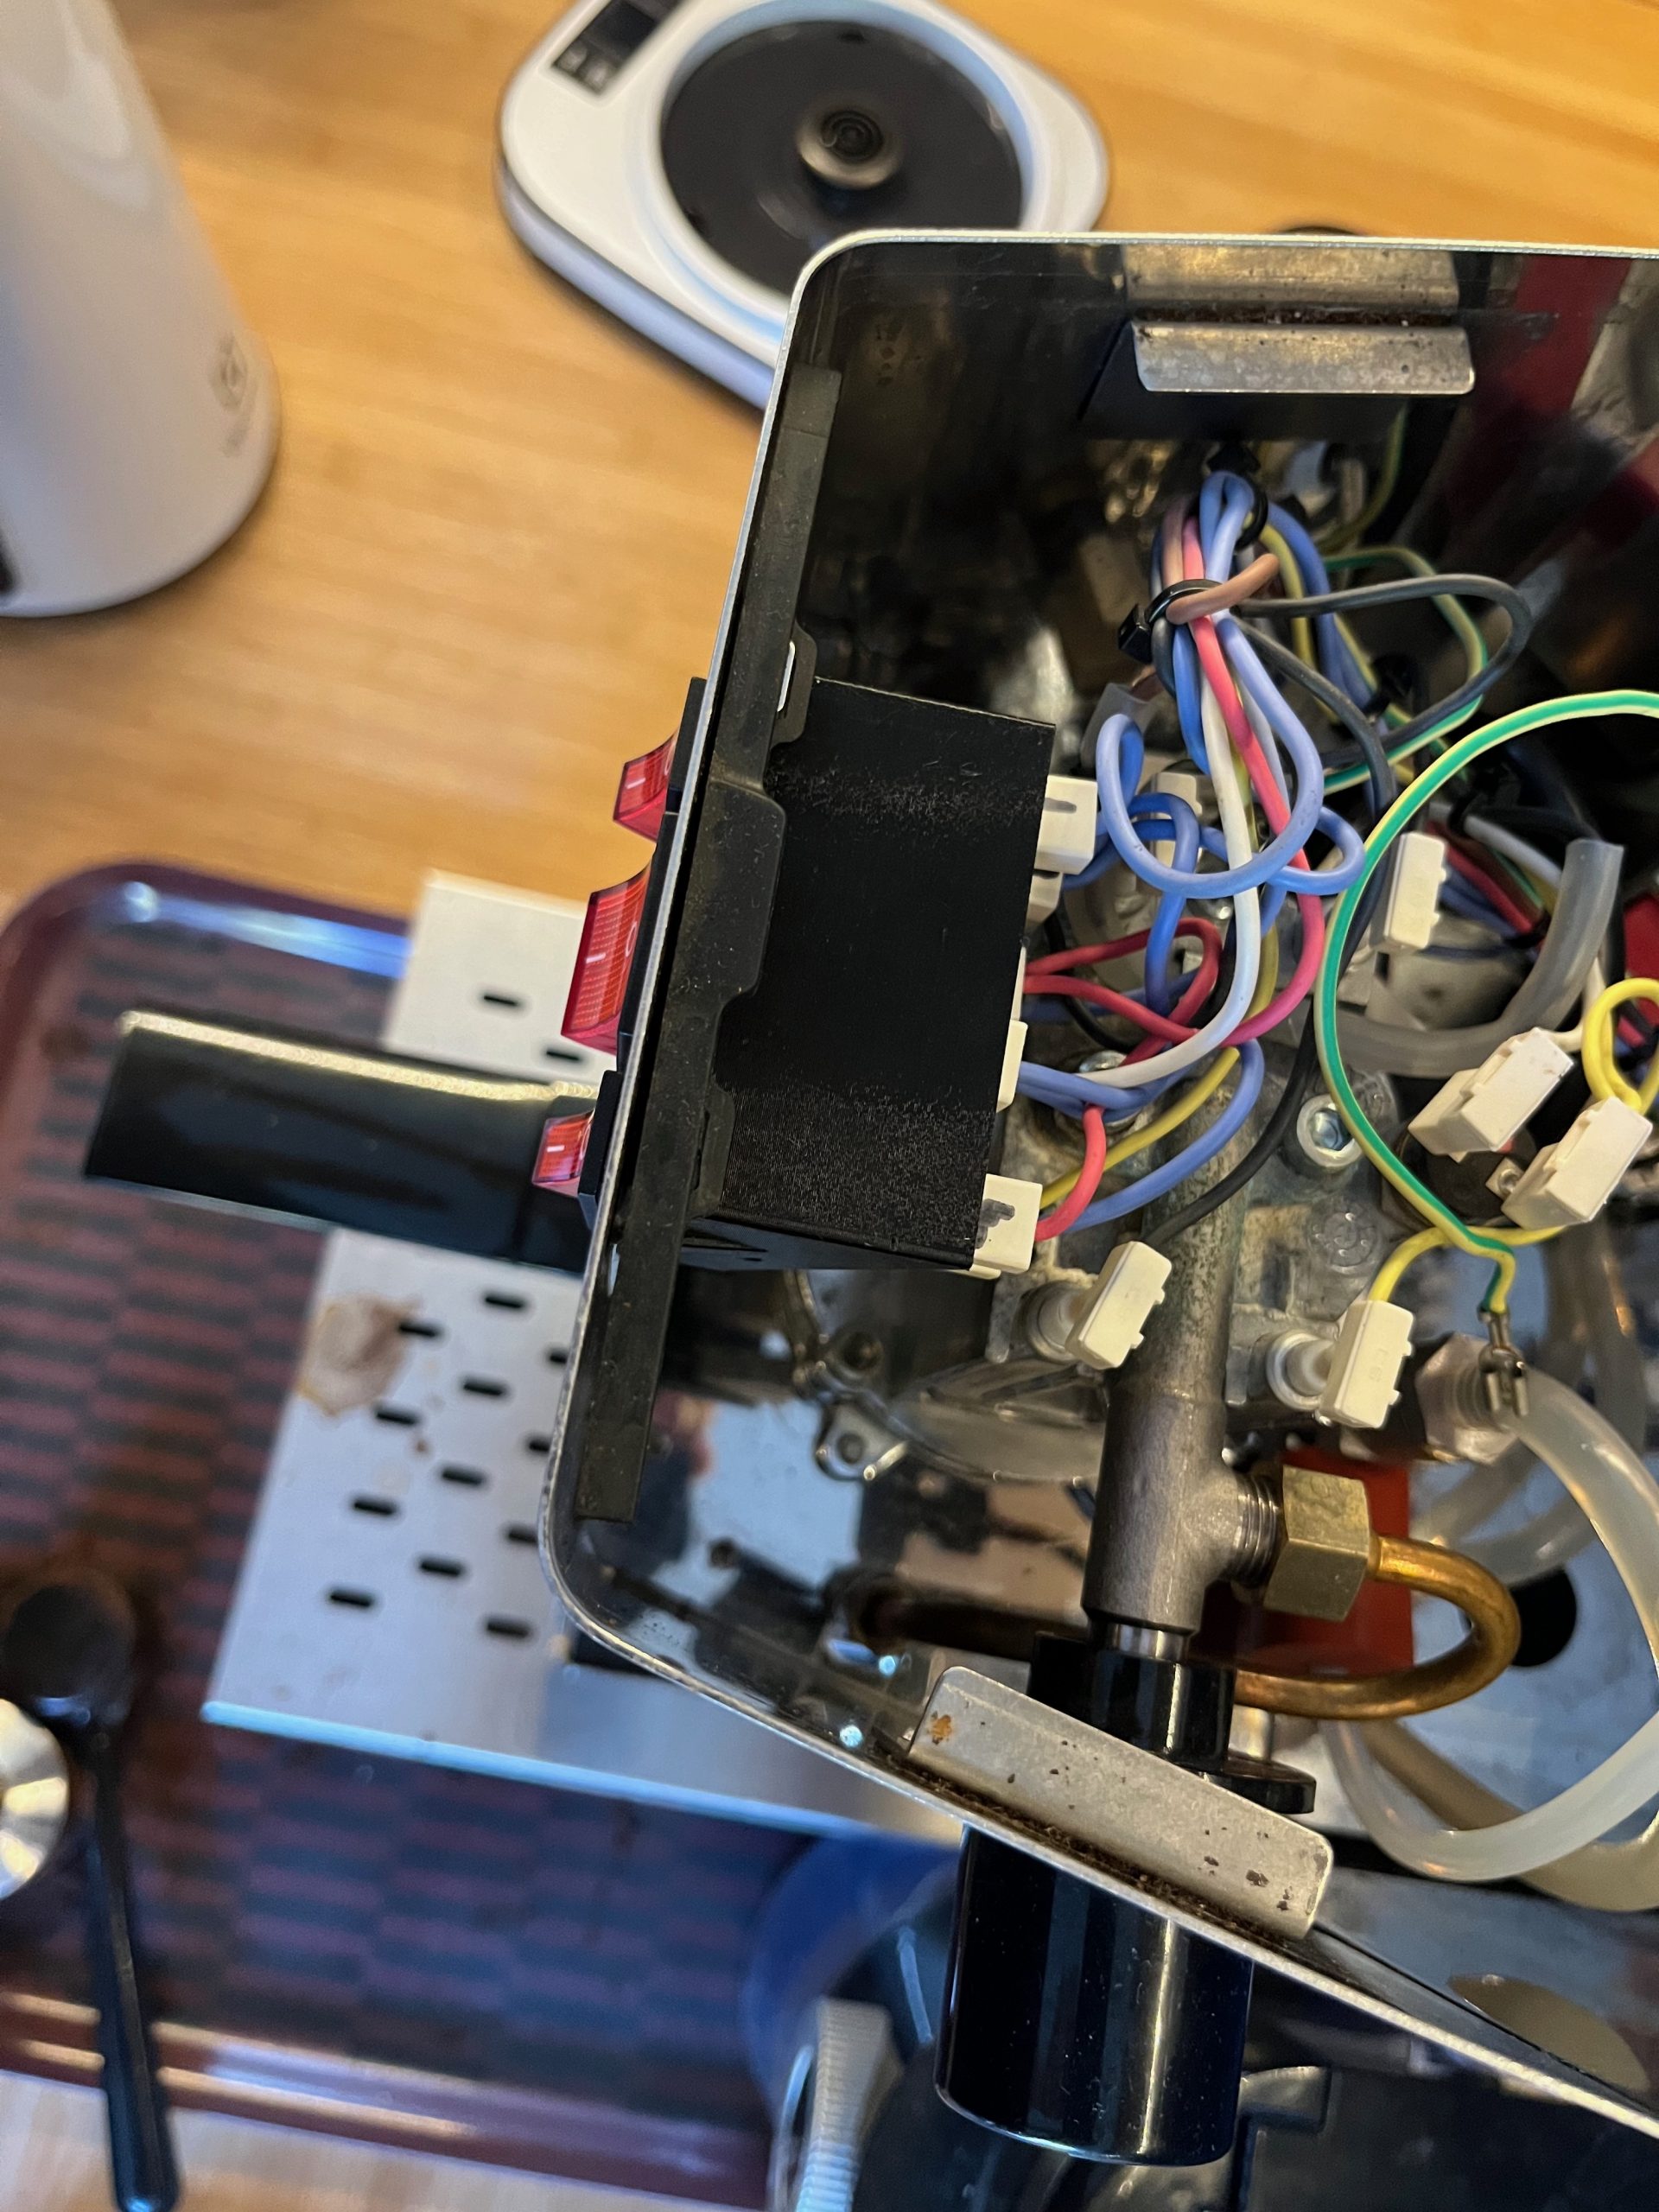
7) Push the new switches into the 3D printed mount, but do not push the mount the whole way into the machine yet. Unlike the original switchbank the 3D printed mount has a lengthened top to protect the switches against water ingress from the top of the machine – a good idea! But that means cabling the switches is a little bit harder, so instead cable the switches with the block half out of the machine like this.
8) When the switches are pushed into the machine, make sure no wires are touching the boiler – else they might melt when the machine is in operation!
9) Put the metal mount from stage 5) above around the switch casing
10) Put the little rubber front mount from step 4) back in place.
11) Re-connect the earth cable to the lid, fit the lid back on starting and the front, and making sure the funnel in the back fits down into the hole in the casing correctly, and screw back the two screws removed in stage 2). Put in the power cable and turn on. Ta da! It works!
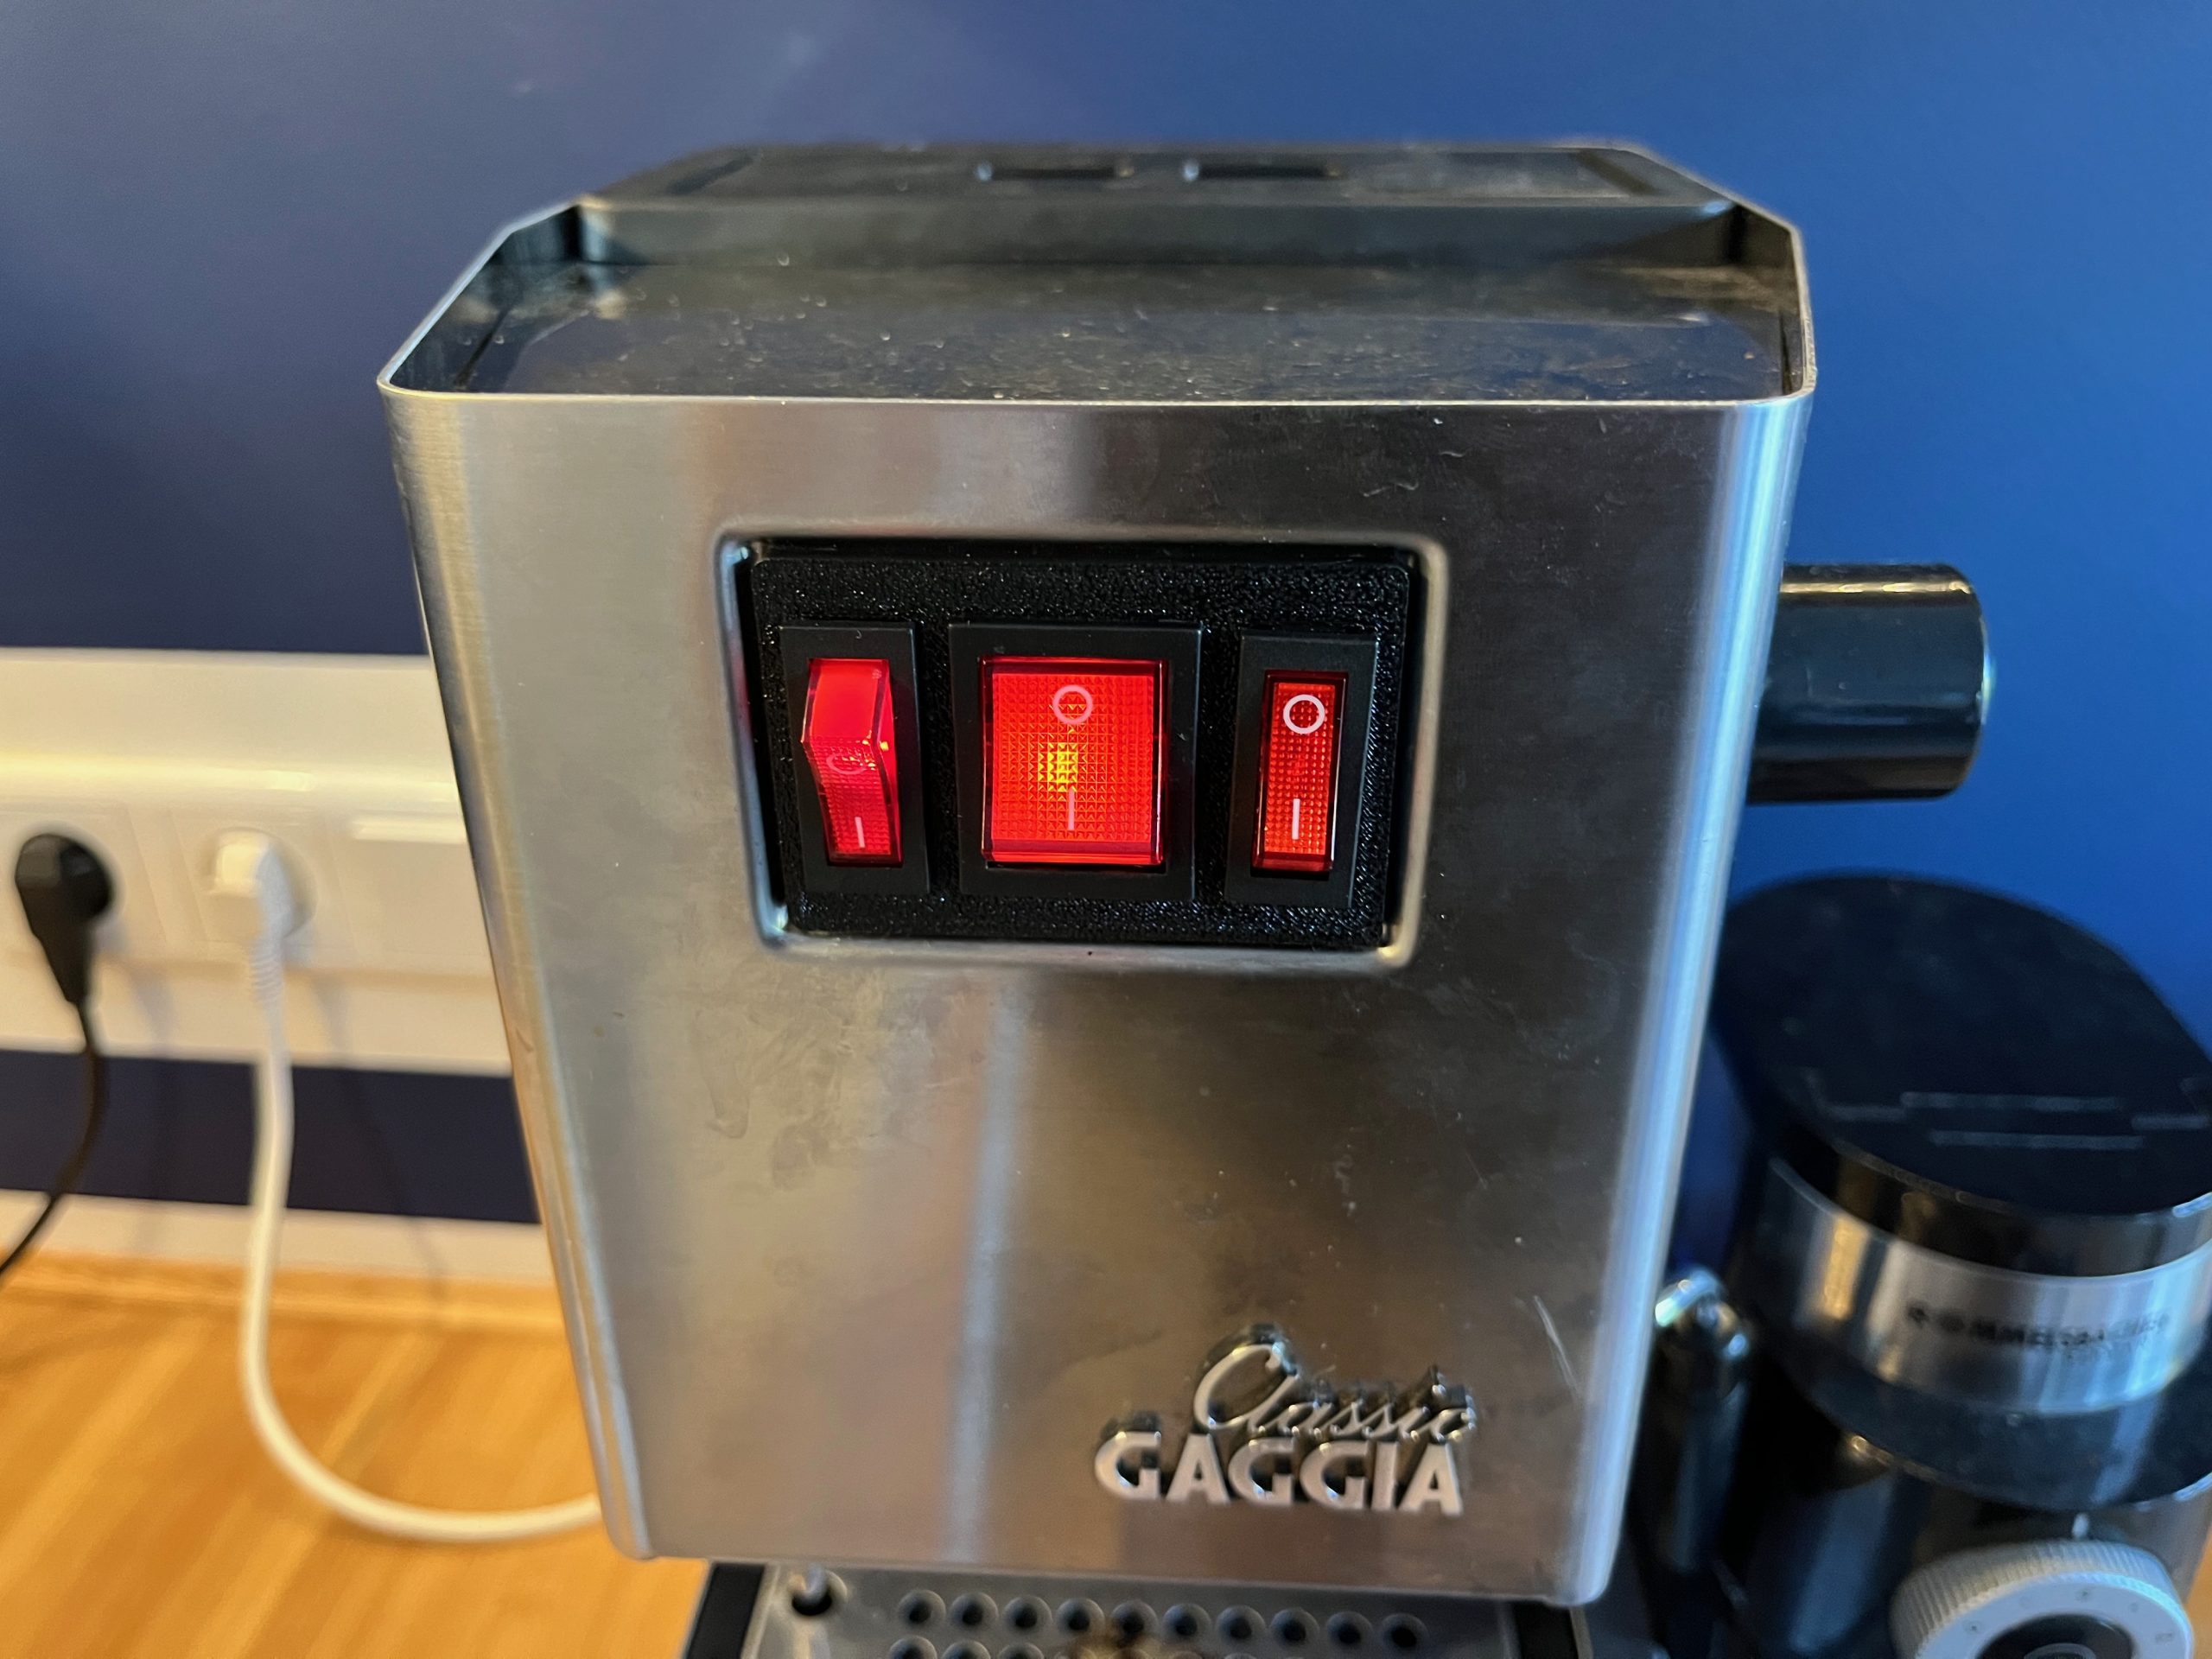
But with one change.
On the original switchbank it is the pump light on the right that illuminates when the machine is heating up – with the replacement generic switches it is the steam light in the middle where the light goes on and off when heating. Not a major problem.
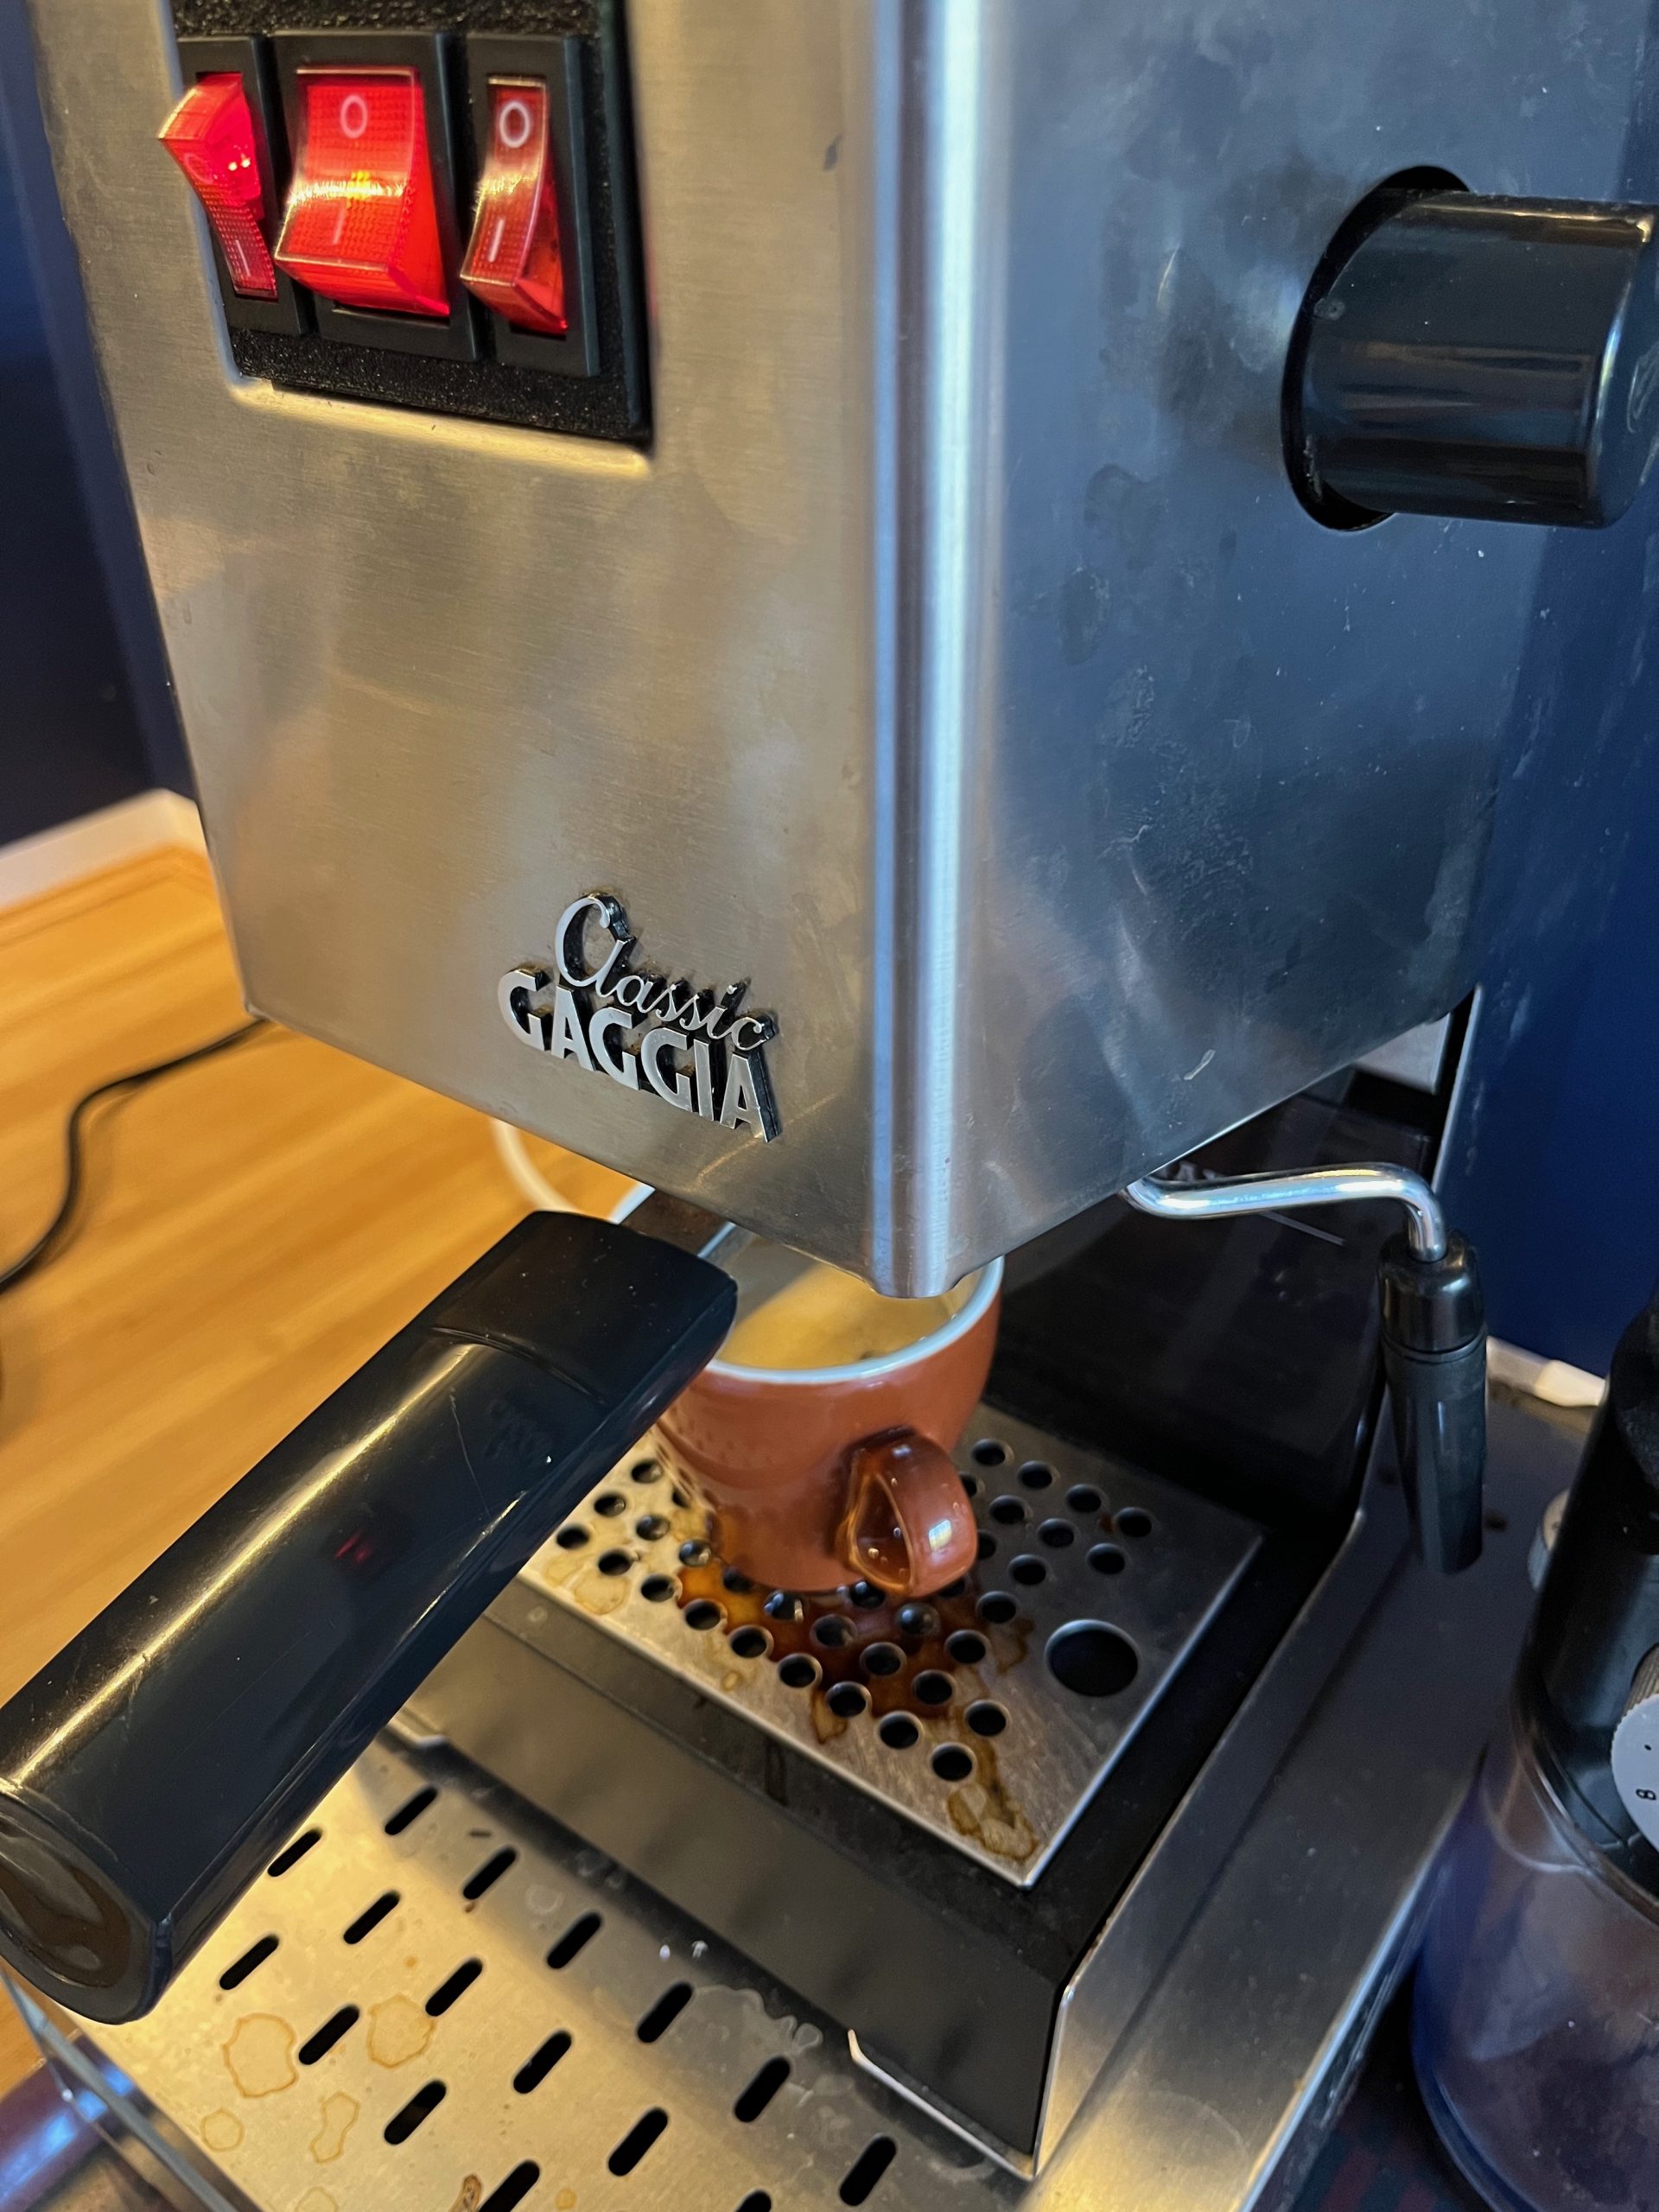
12) And it works, and I have coffee!


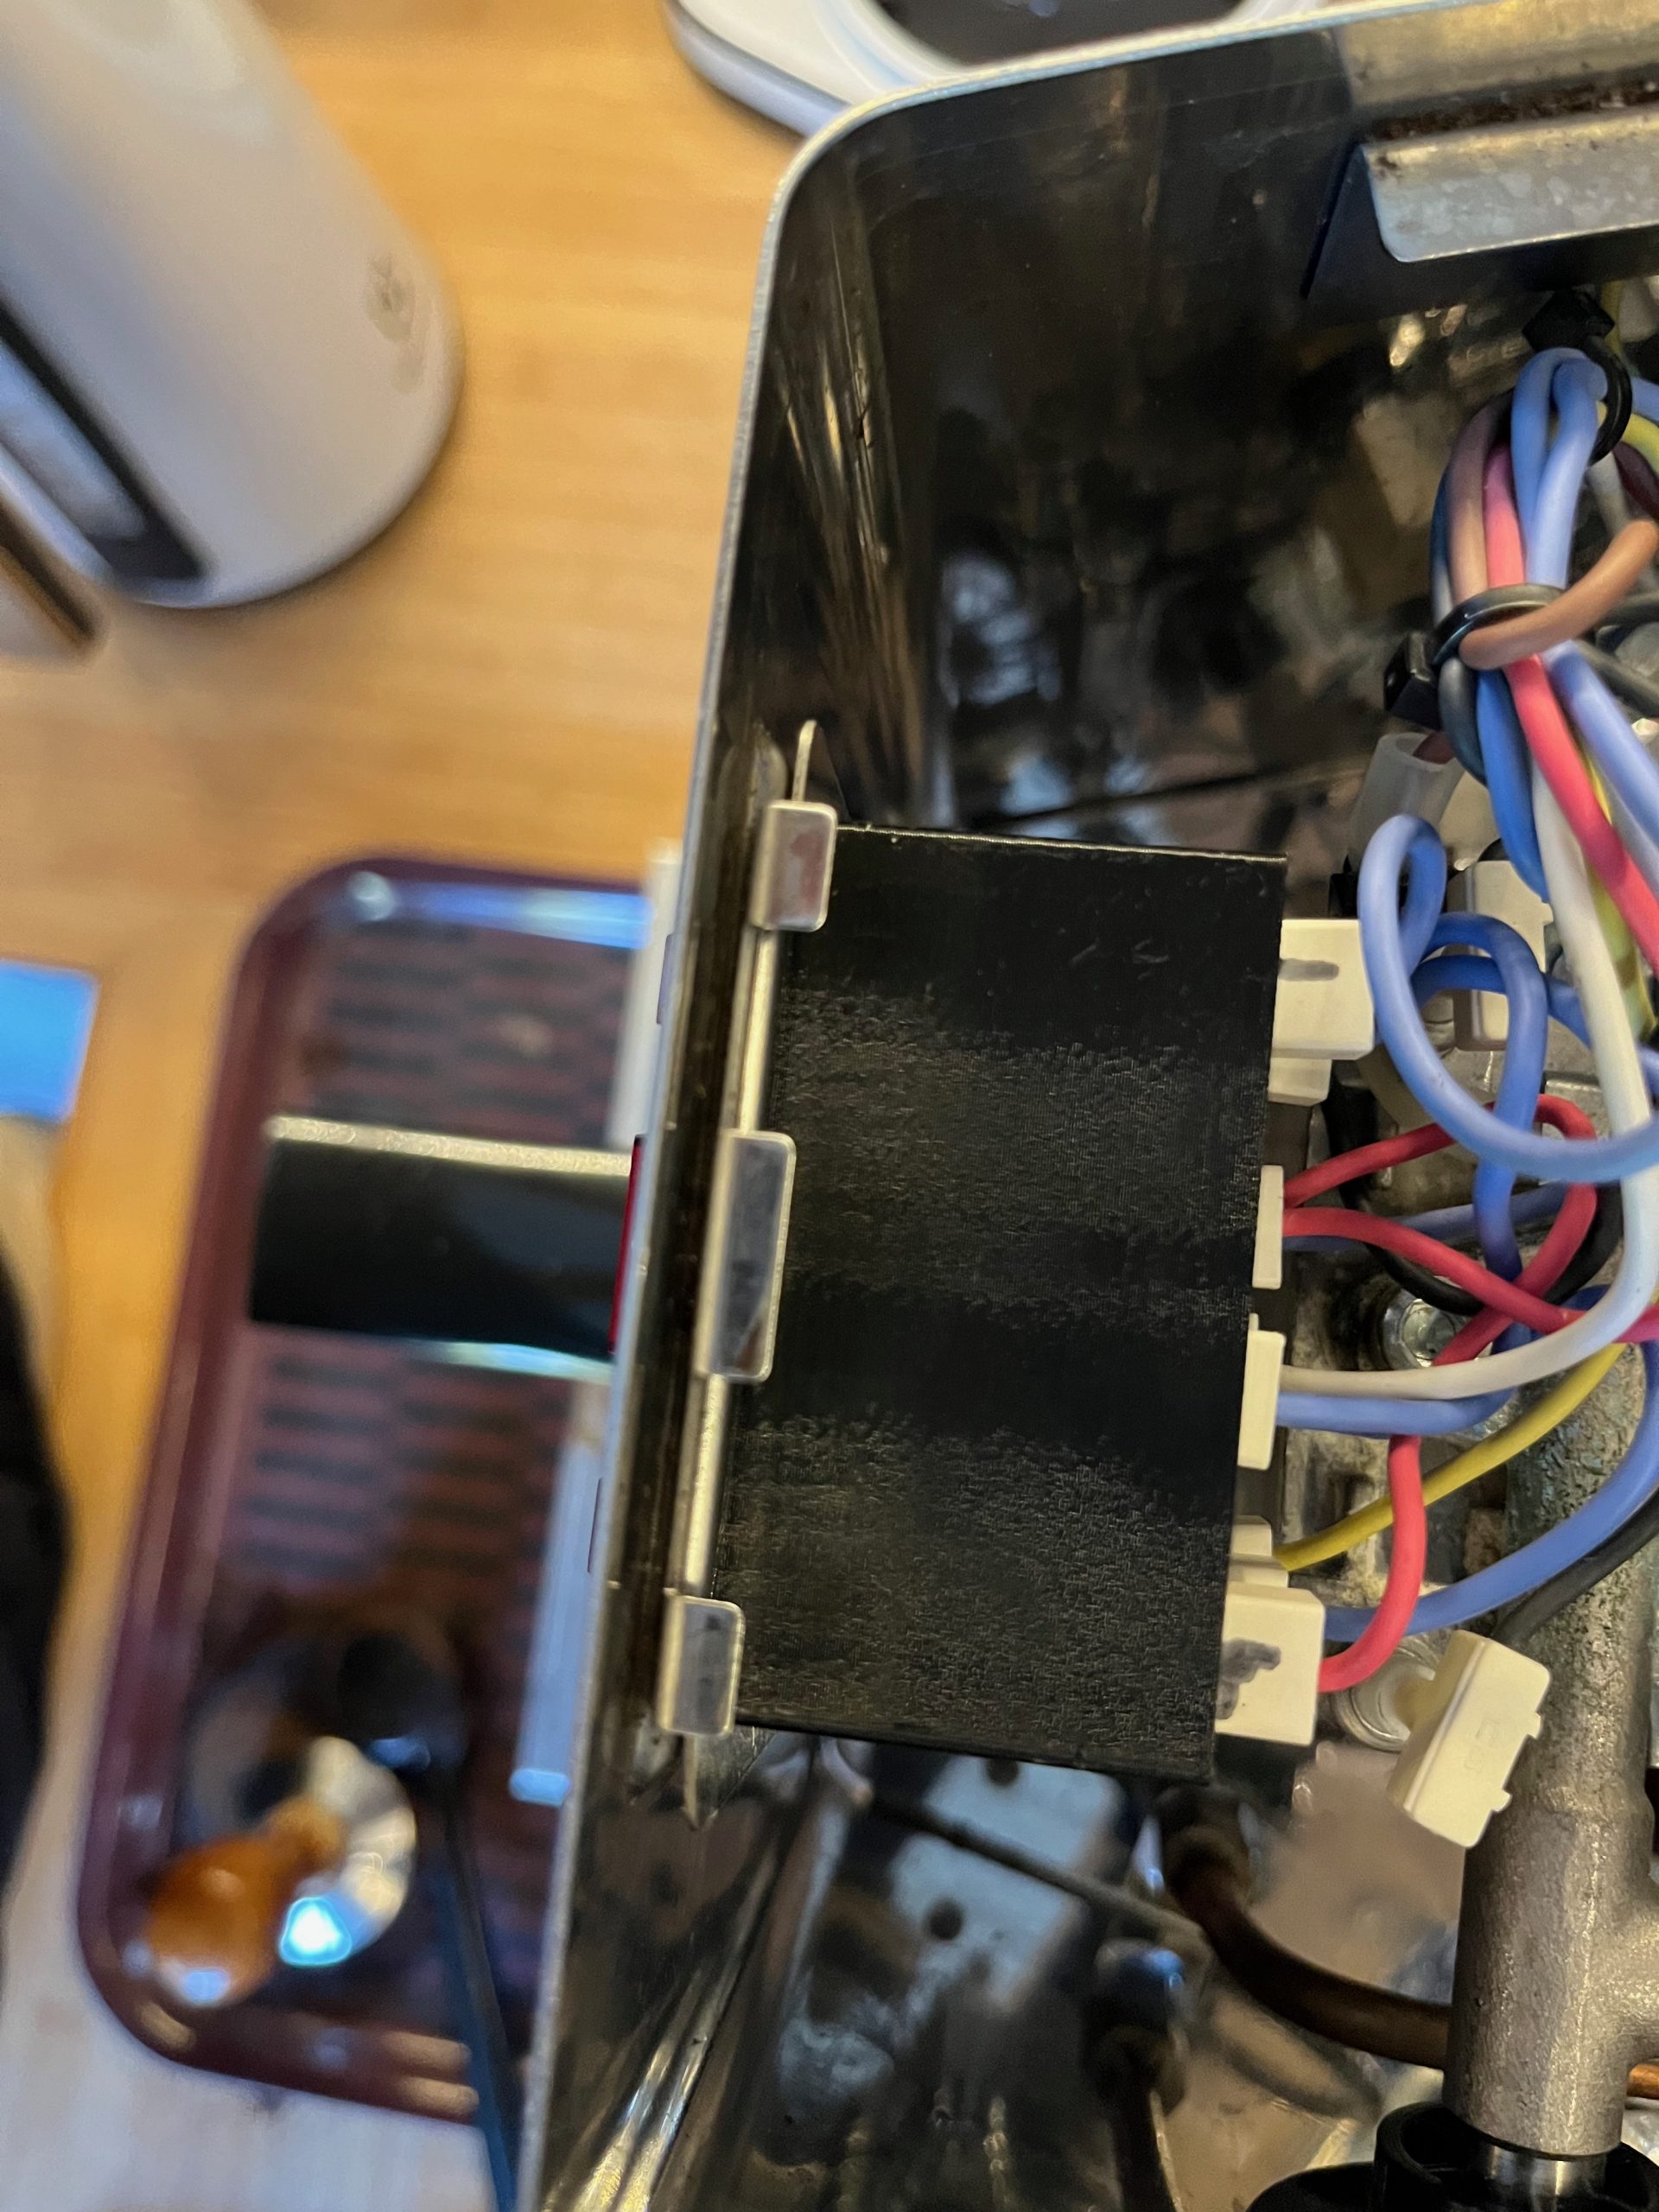
The switch housing was designed to have the “shield” part at the bottom and exposed switches seen on top. Im not sure our necessary that was but the idea was to give some heat “protection”to the cheap Ali switch.
OK, but I am pretty sure that’d be a *very* tight fit, if it fits at all, that way! And the nature of the way the heat moves in a Gaggia Classic I think it has questionable benefit that way, but it would have benefit upwards against water ingress from cups on the top of the machine!